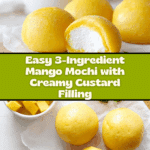
Easy 3-Ingredient Mango Mochi with Custard Filling Recipe
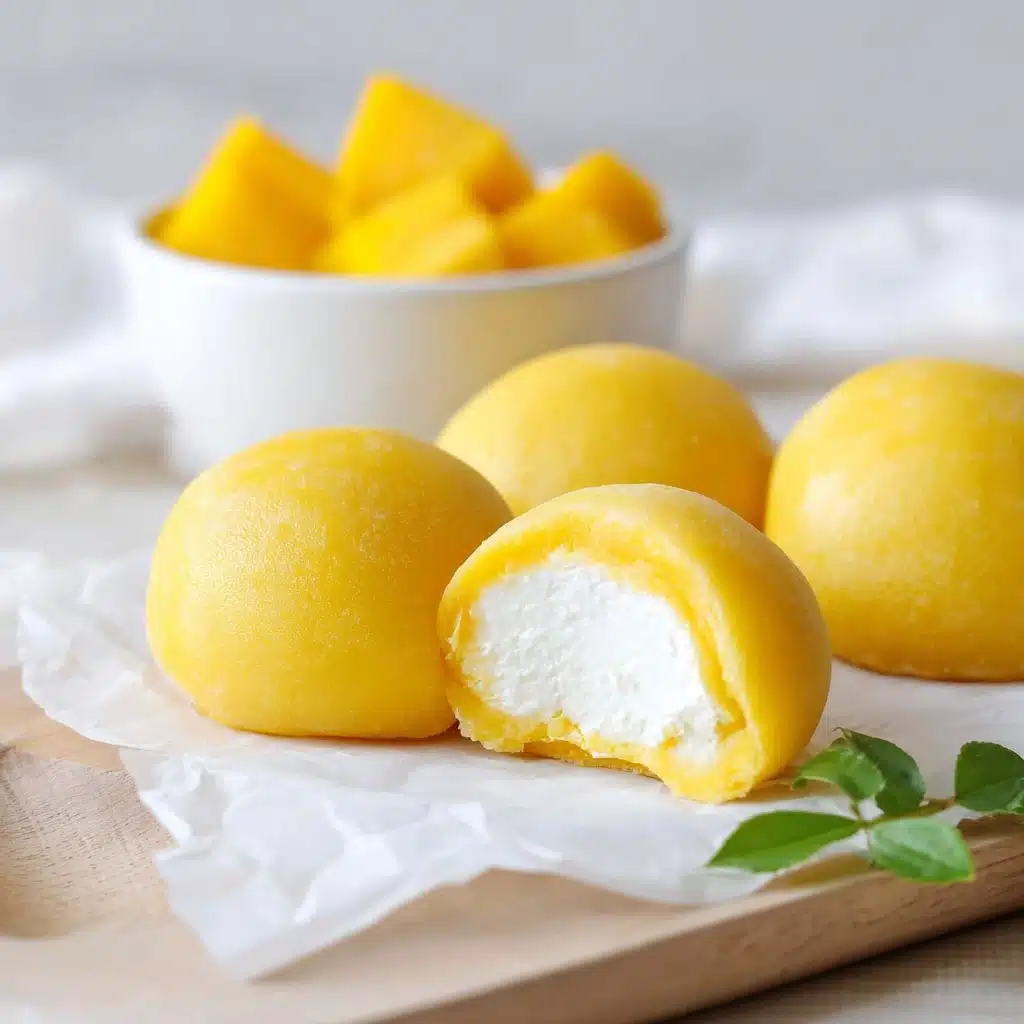
Simple, luscious, and downright addictive, the Easy 3-Ingredient Mango Mochi with Custard Filling takes traditional Japanese mochi to a whole new level of tropical delight. Imagine the chewy, delicate mochi dough infused with natural mango sweetness, wrapped around a creamy custard center that melts in your mouth with every bite. This recipe is a celebration of minimal ingredients and maximum flavor, perfect for anyone wanting to impress without fuss. Whether you’re a mochi beginner or a dessert enthusiast, this easy-to-make treat will quickly become a favorite go-to dessert that feels both special and refreshingly light.
Ingredients You’ll Need
There’s something so comforting about a recipe that asks for just a few well-chosen ingredients. Each component in this Easy 3-Ingredient Mango Mochi with Custard Filling plays a vital role — from the texture to the vibrant flavor and that luscious creamy finish.
- 2/3 cup mochiko flour (sweet rice or glutinous rice flour): This is the heart of the mochi dough, giving you that signature chewy, stretchy texture.
- 2/3 cup ripened mango (diced): Using ripe mango adds vibrant color and natural sweetness, plus forming the fruity base for your mochi.
- 2/3 cup pastry cream, vanilla pudding, or ice cream: This creamy filling adds rich contrast and takes your mochi from simple to sensational.
How to Make Easy 3-Ingredient Mango Mochi with Custard Filling
Step 1: Prepare the Mango Puree
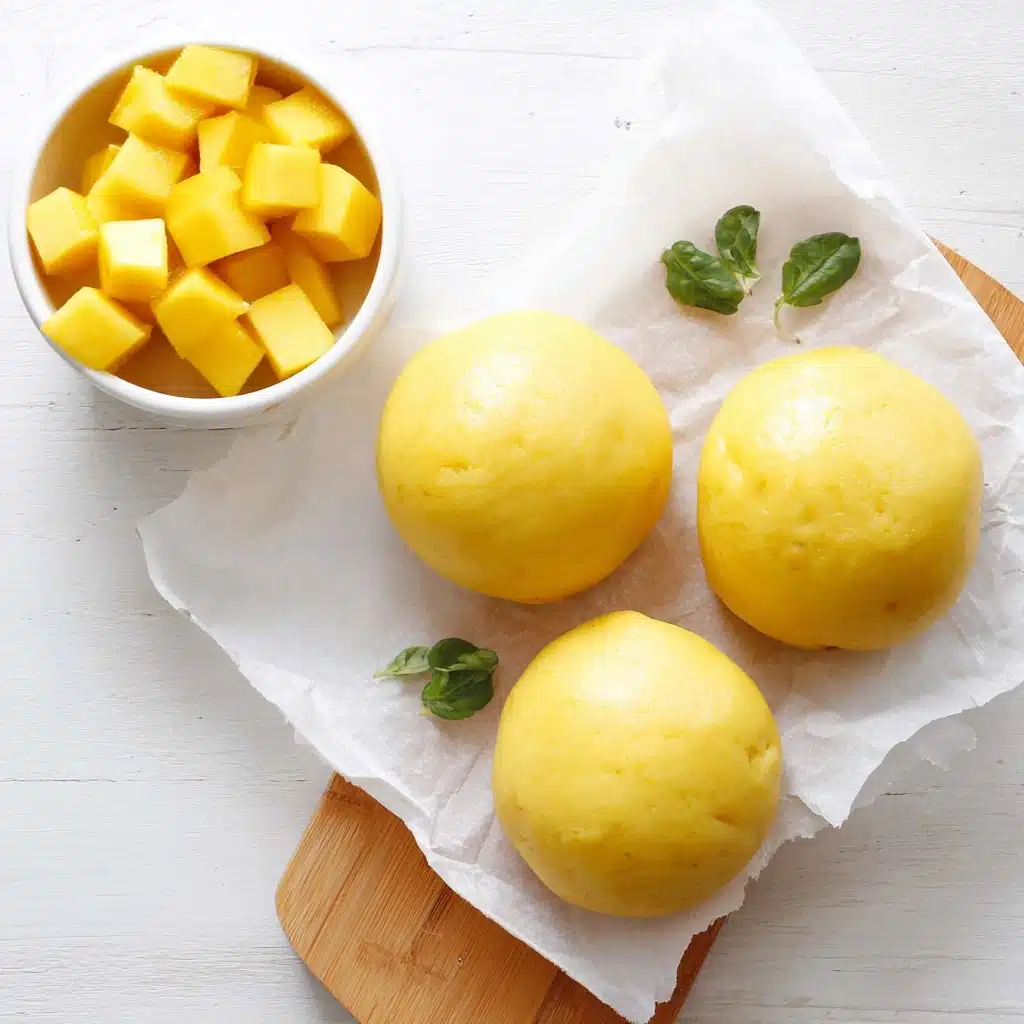
The first step is all about coaxing out that fresh tropical flavor. Blend your diced, ripened mango in a mini blender until smooth and creamy. This puree not only colors the mochi dough naturally but also infuses it with a subtle sweetness that’s absolutely delightful.
Step 2: Mix the Mochi Dough
Grab a microwave-safe glass bowl and combine the mochiko flour with your freshly made mango puree. This simple mix will form the base of your luscious mochi dough. Remember, the flour’s gluten-free and sticky properties are crucial for that perfect chewiness you’re aiming for.
Step 3: Microwave and Stir
Pop your mixture into the microwave for 90 seconds and then stir vigorously with a solid metal spoon (trust me on this — wooden spoons just don’t stand up to the job here!). This stirring step is key to ensuring an evenly cooked dough without lumps.
Step 4: Microwave Once More
Return the mochi dough to the microwave for another 60 seconds. The timing ensures the mixture is fully cooked but still soft and pliable—perfect for handling and shaping.
Step 5: Shape the Mochi Dough
After microwaving, transfer the hot mochi onto a lightly oiled baking pan. Once it cools enough to handle, flatten the dough with the palm of your hand. Be cautious—it will still be quite hot, so gloved hands or patience while cooling are your best friends here.
Step 6: Cut and Wrap the Filling
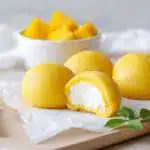
Using kitchen shears or scissors, cut the mochi dough into six equal pieces. Then, scoop about one to two tablespoons of your chosen custard filling and carefully wrap the mochi dough around it. Pinch the edges tight so that the custard is fully enclosed, creating that perfect little bundle of chewy, creamy heaven.
Step 7: Enjoy Your Creation
That’s it! Your Easy 3-Ingredient Mango Mochi with Custard Filling is ready to be devoured. Soft, fruity, creamy, and naturally gorgeous—this mochi is a dessert to be proud of.
How to Serve Easy 3-Ingredient Mango Mochi with Custard Filling
Garnishes
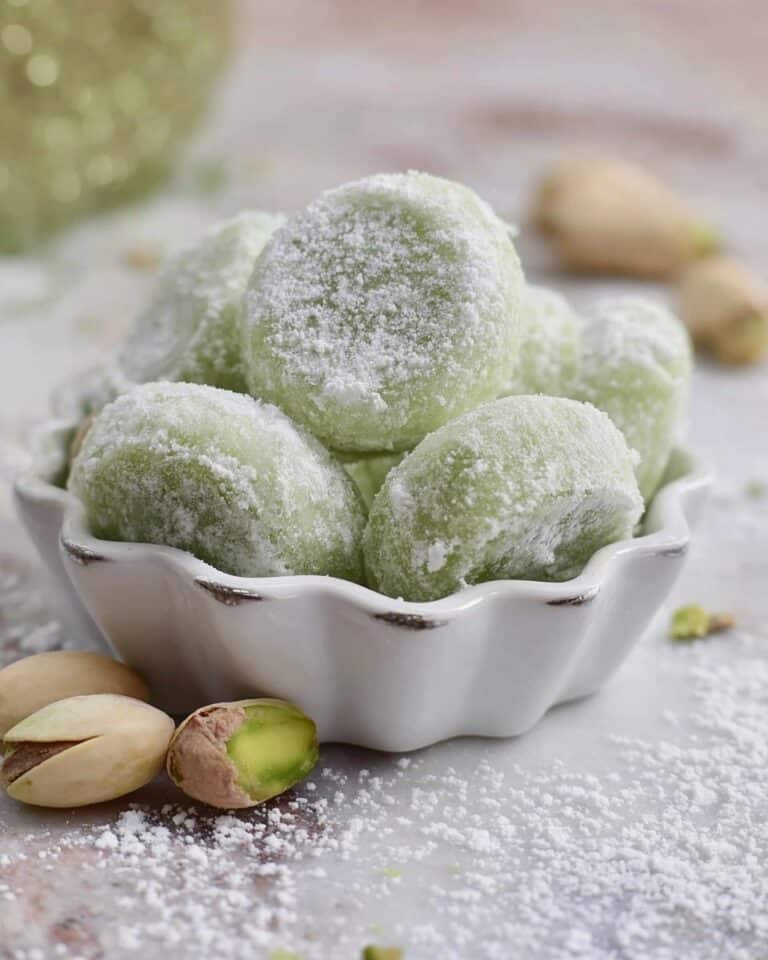
Simple garnishes will elevate your mochi without overpowering it. Dusting with a little toasted coconut flakes or a handful of crushed pistachios adds lovely texture and subtle earthiness. A light sprinkle of matcha powder can create a stunning color contrast and a slightly bitter balance that complements the sweet custard beautifully.
Side Dishes
Pair your Easy 3-Ingredient Mango Mochi with Custard Filling with refreshing sides like a chilled jasmine tea or a lightly sweetened coconut milk beverage. These alongside your mochi bring a touch of Asian-inspired elegance while cleansing the palate between bites.
Creative Ways to Present
Want to impress guests or make these for a special occasion? Serve your mochi in pretty mini cupcake liners or on small wooden trays with edible flower petals scattered around. You could even thread them onto skewers for an adorable mochi “kabob” that’s perfect for parties. The soft colors and texture make them as delightful to look at as they are to eat.
Make Ahead and Storage
Storing Leftovers
If you have any leftover Easy 3-Ingredient Mango Mochi with Custard Filling (which might be rare!), store them in an airtight container at room temperature for up to one day to maintain that tender, chewy texture. Refrigeration can cause them to harden, so it’s best to enjoy fresh whenever possible.
Freezing
Freezing mochi is a smart option for preserving it longer. Wrap each filled mochi tightly in plastic wrap and then place them in a freezer-safe bag. They freeze well for up to a month. Just be sure to thaw them slowly in the fridge overnight to keep the custard creamy and the mochi soft.
Reheating
To enjoy your mochi fresh after thawing, microwave them for 15 to 20 seconds on a microwave-safe plate. This brief warm-up will revive their chewy texture and soften the custard, making every bite heavenly once again.
FAQs
Can I use frozen mango instead of fresh?
Absolutely! Frozen mango works well in this recipe—just thaw it completely and drain any excess liquid before blending to keep the mochi dough consistency perfect.
What can I substitute for custard filling?
If you’re not a fan of custard, vanilla pudding or even a scoop of your favorite ice cream works wonderfully as a filling. The key is using something creamy that pairs well with mango’s sweetness.
Is mochiko flour gluten-free?
Yes, mochiko is made from glutinous rice but does not contain gluten, making it a safe choice for gluten-intolerant individuals. This unique flour is what gives mochi its chewy texture.
Can I make these mochi without a microwave?
You can steam the dough in a heatproof bowl for about 15 minutes, stirring halfway to ensure even cooking, as an alternative to microwaving. Just keep an eye on the texture to avoid overcooking.
How long do these mochi last once made?
Best enjoyed fresh, your mochi will keep nicely at room temperature for about a day. Beyond that, they may start to harden or lose their creamy filling’s freshness.
Final Thoughts
This Easy 3-Ingredient Mango Mochi with Custard Filling is proof that wonderful desserts don’t have to be complicated. With minimal ingredients, straightforward steps, and a truly indulgent outcome, this recipe brings a joyful burst of flavor and texture to your kitchen. Give it a try—you’ll be amazed at how effortlessly you can create a show-stopping treat that tastes like it came from a high-end bakery. Happy cooking and even happier eating!
PrintEasy 3-Ingredient Mango Mochi with Custard Filling Recipe
This Easy 3-Ingredient Mango Mochi with Custard Filling is a delightful and simple dessert that combines the chewy texture of mochi with the tropical sweetness of fresh mango puree and a creamy custard center. Perfect for a quick treat, it requires minimal ingredients and effort while delivering delicious, refreshing flavors with a satisfying chewy bite.
- Prep Time: 10 minutes
- Cook Time: 3 minutes
- Total Time: 13 minutes
- Yield: 6 pieces 1x
- Category: Dessert
- Method: Microwaving
- Cuisine: Japanese
- Diet: Vegetarian
Ingredients
For the Mochi Dough
- 2/3 cup mochiko flour (sweet rice or glutinous rice flour, about 90 g)
- 2/3 cup ripened mango (5 oz / 141 g diced, to yield about 1/2 cup mango puree)
For the Filling
- 2/3 cup pastry cream, vanilla pudding, or ice cream of choice
Instructions
- Prepare Puree: Blend the diced ripe mango in a mini blender until creamy to create a smooth mango puree.
- Make the Mochi Dough: In a microwave-safe glass bowl, mix the glutinous rice flour and mango puree until well combined.
- First Microwave Cooking: Microwave the mochi mixture for 90 seconds to begin cooking the dough.
- Stir Mixture: Using a solid metal spoon, stir the mochi mixture thoroughly to evenly blend the cooked and uncooked parts. Avoid wooden spoons as they might break.
- Second Microwave Cooking: Microwave the mochi mixture again for 60 seconds to finish cooking.
- Shape and Cool: Pour the cooked mochi onto a lightly oiled baking pan. Once it cools enough to handle, flatten the mochi using your palm. Be careful as the dough will still be hot; use gloves or wait until it is safe to touch.
- Cut Pieces: Using kitchen shears or scissors, cut the mochi dough into 6 equal pieces.
- Wrap with Filling: Use a small cookie scoop to portion about 1-2 tablespoons of pastry cream, pudding, or ice cream. Wrap the mochi dough around the filling and pinch the edges tightly to seal.
- Serve: Enjoy the mango mochi immediately, or store appropriately if using ice cream filling.
Notes
- You can substitute pastry cream with vanilla pudding or your favorite ice cream for the filling.
- Use gloves or wait until the mochi dough has cooled sufficiently to avoid burns while handling.
- Mochiko flour is essential for the chewy texture; do not substitute with regular rice flour.
- Store mango mochi containing ice cream filling in the freezer and consume promptly.
- Wooden spoons might break when stirring hot mochi, so use a solid metal spoon.
Nutrition
- Serving Size: 1 piece
- Calories: 110 kcal
- Sugar: 9 g
- Sodium: 15 mg
- Fat: 2 g
- Saturated Fat: 1 g
- Unsaturated Fat: 0.5 g
- Trans Fat: 0 g
- Carbohydrates: 21 g
- Fiber: 1 g
- Protein: 1 g
- Cholesterol: 7 mg
Keywords: mango mochi, mochi dessert, 3-ingredient mochi, mango dessert, easy mochi recipe, custard filled mochi