Brownie Mug Cake Recipe
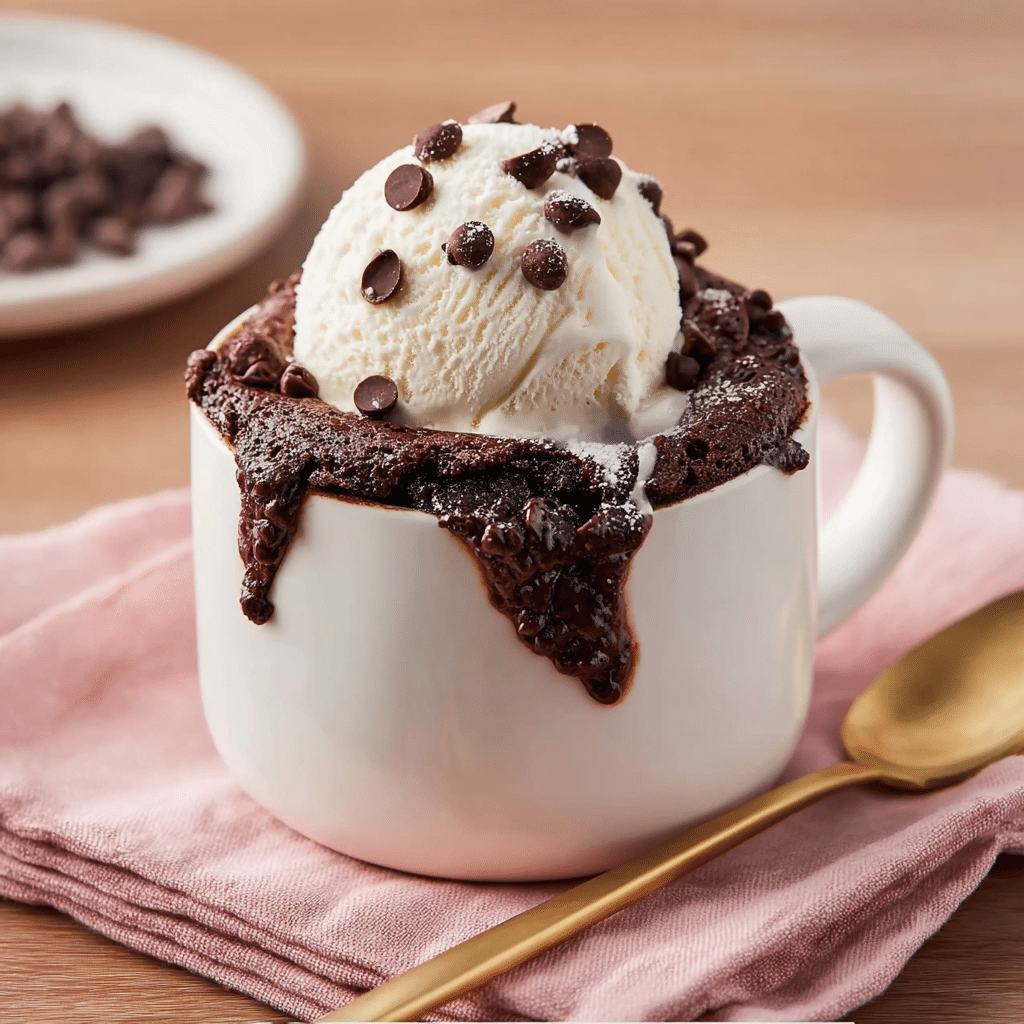
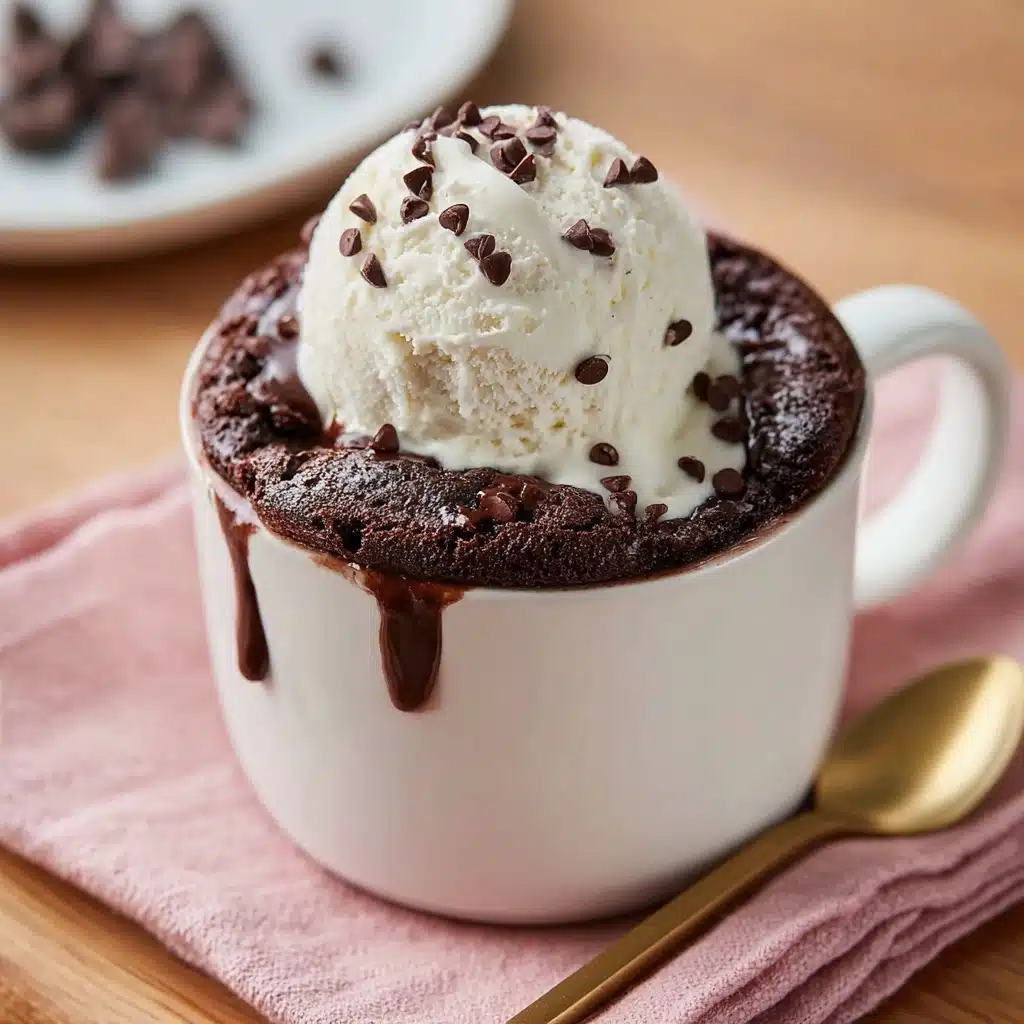
If you have a sudden craving for chocolate but don’t want to bake an entire cake, this Brownie Mug Cake is your new best friend. It’s a quick, single-serving delight that comes together with simple pantry staples, delivering the rich, fudgy chocolate experience you deserve without fuss or mess. Perfectly gooey, melt-in-your-mouth, and topped with melty chocolate chips and vanilla ice cream, this Brownie Mug Cake is nothing short of a cozy hug in dessert form.
Ingredients You’ll Need
Getting the perfect Brownie Mug Cake is all about using just the right ingredients—simple, familiar, and each playing a starring role in flavor and texture. From the rich cocoa that imbues it with chocolate goodness to the neutral oil that keeps it moist, every component is essential.
- All-purpose flour: Provides structure and that classic brownie density while keeping it tender.
- Granulated sugar: Adds sweetness and helps create the slight crust on top.
- Unsweetened cocoa powder: Gives the deep chocolate flavor without heaviness.
- Pinch of salt: Balances and enhances the chocolate flavor, making it more vibrant.
- Neutral oil (sunflower or canola): Keeps the cake moist without interfering with the chocolate’s richness.
- Whole milk: Adds creaminess and helps bring the batter together smoothly.
- Pure vanilla extract: A subtle hint that elevates the chocolate and rounds out the flavor.
- Semisweet chocolate chips: For little pockets of melty chocolate that make every bite special.
- Vanilla ice cream: The perfect cool, creamy contrast to the warm, fudgy brownie.
How to Make Brownie Mug Cake
Step 1: Prepare Your Mug and Dry Ingredients
Grab a microwave-safe ceramic mug that holds at least 10 to 12 ounces to avoid any messy overflow. Start by whisking together the flour, sugar, cocoa powder, and just a pinch of salt directly in the mug. This ensures your dry ingredients mix evenly, so every bite tastes perfectly balanced without lumps.
Step 2: Incorporate the Wet Ingredients
Next up, pour in the oil, room temperature whole milk, and vanilla extract. Stir everything until it’s fully combined, making sure to scrape the sides and bottom of your mug so no dry patches remain. This step really helps create that smooth batter that bakes up beautifully.
Step 3: Add the Chocolate Chips
Fold in a tablespoon of semisweet chocolate chips gently; these little gems melt into gooey pockets of magic. It’s these melty spots that transform this from simple microwave cake into a true Brownie Mug Cake sensation.
Step 4: Microwave to Perfection
Pop your mug into the microwave on high power for 1 minute and 10 to 20 seconds, depending on your microwave wattage (around 1000W works great). You’re looking for the top to be set while the inside remains soft and a little gooey. Resist the urge to overcook—remember, it keeps cooking slightly as it rests.
Step 5: Rest and Serve
After microwaving, let your Brownie Mug Cake sit for 1 minute. This brief rest makes sure the center firms up just enough while staying deliciously moist and fudgy. The grand finale? Top it with a scoop of vanilla ice cream and a sprinkle of extra chocolate chips. Serve with a spoon, and savor every warm, chocolatey bite.
How to Serve Brownie Mug Cake
Garnishes
Simple garnishes take this Brownie Mug Cake from comfort food to a little celebration on a plate. Besides a scoop of creamy vanilla ice cream, you can sprinkle additional chocolate chips, dust with powdered sugar, or even drizzle a little caramel or chocolate sauce to amp up the indulgence.
Side Dishes
This dessert shines on its own but pairs beautifully with fresh fruit like raspberries or strawberries, which add a refreshing tartness that cuts through the chocolate richness. A cold glass of milk or a scoop of whipped cream also complements the warm brownie’s texture perfectly.
Creative Ways to Present
For a casual treat, serve your Brownie Mug Cake straight in the mug with a pretty spoon. If you want to impress, transfer it carefully to a small dessert plate, garnish with mint leaves, or serve alongside a shot of espresso. Wrapping the mug in a decorative napkin or placing it on a small wooden tray adds charm if you’re sharing the treat with friends.
Make Ahead and Storage
Storing Leftovers
While this Brownie Mug Cake is best enjoyed fresh and warm, you can store leftovers covered in the fridge for up to two days. Cover the mug tightly with plastic wrap or transfer the cake to an airtight container to keep it from drying out.
Freezing
Freezing isn’t ideal for the mug cake texture, but if you’re determined, remove it from the mug and wrap it tightly in plastic before placing it in a freezer-safe bag. It’s best eaten within a month and should be thawed overnight in the fridge to maintain some moisture.
Reheating
Reheat gently in the microwave in 10-second bursts to avoid drying it out. You want it warm and fudgy again, so keep a close eye and stop as soon as it feels soft to the touch. Adding a fresh scoop of ice cream will bring back that dessert magic perfectly.
FAQs
Can I use a different type of milk?
Absolutely! While whole milk gives great creaminess, you can substitute almond, oat, or any milk you prefer. Just keep it at room temperature for the best batter texture.
What if I don’t have oil, can I use butter?
Yes, melted butter works well and adds a lovely richness, but make sure it’s cooled slightly before mixing to avoid cooking the eggs or scorching the batter.
How can I make the Brownie Mug Cake more fudgy?
Reduce the microwave time slightly by about 5 seconds and let the cake rest well; the center will stay gooey and melt-in-your-mouth delicious.
Is it possible to make a vegan Brownie Mug Cake?
It can be adapted by using plant-based milk and oil, plus a flax egg (1 tbsp ground flaxseed + 3 tbsp water) instead of eggs. The texture might vary slightly, but it’s a great alternative.
Can I double the recipe for two servings?
You can try doubling, but it’s better to make two individual cakes in separate mugs. Larger quantities may not cook evenly in the microwave, leading to a less ideal texture.
Final Thoughts
This Brownie Mug Cake truly is one of those magical little recipes that feels like an instant reward after a long day. Quick, comforting, and absolutely crave-worthy, it’s perfect whenever you want to satisfy your chocolate fix without the wait or the fuss. Go ahead, give it a try and treat yourself—you deserve that warm hug in a mug tonight.
PrintBrownie Mug Cake Recipe

A quick and easy Brownie Mug Cake recipe perfect for a single serving. This fudgy and moist chocolate treat is made with simple pantry ingredients and ready in just minutes using a microwave. Topped with melty chocolate chips and a scoop of vanilla ice cream, it’s an irresistible dessert anytime you crave something sweet.
- Prep Time: 5 minutes
- Cook Time: 1 minute 20 seconds
- Total Time: 6 minutes 20 seconds
- Yield: 1 serving 1x
- Category: Dessert
- Method: Microwaving
- Cuisine: American
- Diet: Vegetarian
Ingredients
Dry Ingredients
- 4 tablespoons all-purpose flour (leveled)
- 4 tablespoons granulated sugar
- 2 tablespoons unsweetened cocoa powder
- Pinch of salt
Wet Ingredients
- 2 tablespoons neutral oil (sunflower or canola)
- 3 tablespoons whole milk (room temperature)
- 1/4 teaspoon pure vanilla extract
Add-ins and Toppings
- 1 tablespoon semisweet chocolate chips (plus extra for topping)
- 1 small scoop of vanilla ice cream (for serving)
Instructions
- Prepare Mug: Use a microwave-safe ceramic mug that holds at least 10–12 ounces to prevent overflow. A wide, straight-sided mug works best for even cooking.
- Mix Dry Ingredients: In the mug, whisk together the flour, sugar, cocoa powder, and salt with a fork or small whisk until fully combined and no lumps remain.
- Add Wet Ingredients: Pour in the oil, milk, and vanilla extract into the dry mixture. Stir thoroughly until fully incorporated, scraping the sides and bottom of the mug to ensure no dry ingredients remain.
- Fold in Chocolate Chips: Gently stir in 1 tablespoon of semisweet chocolate chips to create pockets of melted chocolate throughout the brownie.
- Microwave Cooking: Microwave the mug on high for 1 minute and 10 seconds to 1 minute and 20 seconds, depending on your microwave wattage (usually 1000W). The top should be set but still soft and slightly gooey underneath when pressed.
- Rest: Remove the mug from the microwave and let it sit for 1 minute. This allows the center to firm up while staying moist and fudgy.
- Serve: Top the warm brownie with a scoop of vanilla ice cream and sprinkle a few extra chocolate chips on top. Serve immediately with a spoon.
- Texture Tips: For a more molten center, reduce microwave time by 5 seconds. For a cakier texture, increase cooking time by 10 seconds.
- Presentation: Serve on a napkin with a small spoon or dessert spoon to enjoy the brownie warm and fresh, just like in the image.
Notes
- Use a mug that holds at least 10-12 ounces to prevent batter from overflowing during microwaving.
- Do not overcook; the brownie continues to cook while resting outside the microwave.
- Room temperature milk helps create a smooth batter without lumps.
- You can substitute neutral oil with melted butter for richer flavor but adjust calories accordingly.
- Adding extra chocolate chips on top enhances the gooey texture and chocolate flavor.
- Serve immediately for best taste and texture; reheating can dry out the brownie.
- Adjust cooking times based on your microwave wattage to get desired consistency.
Nutrition
- Serving Size: 1 mug cake (approx. 125g)
- Calories: 370 kcal
- Sugar: 28 g
- Sodium: 110 mg
- Fat: 18 g
- Saturated Fat: 3.5 g
- Unsaturated Fat: 14 g
- Trans Fat: 0 g
- Carbohydrates: 47 g
- Fiber: 4 g
- Protein: 5 g
- Cholesterol: 10 mg
Keywords: brownie mug cake, single serve brownie, microwave brownie, quick dessert, easy chocolate dessert, fudgy brownie