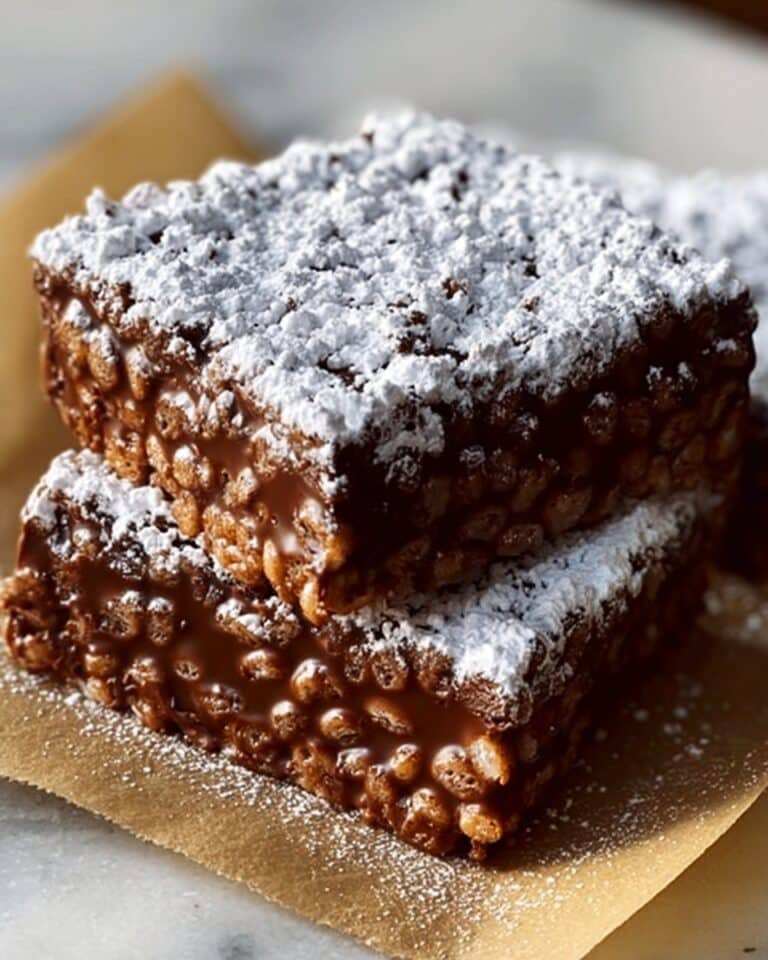
Marshmallow Rice Krispies Halloween Brains Recipe
If you are looking for a festive, fun, and utterly adorable treat to spook up your Halloween celebrations, these Marshmallow Rice Krispies Halloween Brains are an absolute must-make. Packed with gooey marshmallow goodness and the crunchy texture of Rice Krispies cereal, this recipe transforms a childhood favorite into a creepy, brain-shaped delight that will wow both kids and adults alike. The vivid red hues and spooky vein details make it an eye-catching centerpiece and a delicious conversation starter for any Halloween party.
Ingredients You’ll Need
This recipe calls for only a handful of simple ingredients, each playing a crucial role in delivering the perfect balance of texture, flavor, and spider-web spooky appearance. These uncomplicated items come together quickly and easily, making it a fantastic last-minute treat.
- 6 tbsp Unsalted butter: Creates a smooth base preventing sticking and helps the marshmallows melt evenly.
- 6 cups Regular marshmallows: The primary binding agent that brings chewy sweetness and gooey texture.
- 4 cups Rice Krispies cereal: Adds that beloved crispy crunch that contrasts wonderfully with the softness of the marshmallows.
- ½ tsp Salt: Enhances the sweetness and balances flavors to prevent cloying.
- As needed Red food coloring: Gives the treat its eye-catching brain-like red color essential for the Halloween theme.
How to Make Marshmallow Rice Krispies Halloween Brains
Step 1: Prepare the Melting Setup
Begin by filling a medium saucepan with half a cup of water and bring it to a gentle boil. Place a heatproof bowl on top to create a bain-marie or double boiler, which will help melt your ingredients slowly and evenly without burning the marshmallows. This slow melting method is key to achieving that glossy, smooth marshmallow base.
Step 2: Melt Butter and Marshmallows
Add the unsalted butter and all the marshmallows to your heatproof bowl over the simmering water. Stir and whisk constantly until everything has melted into a shiny, gooey mixture. It’s important to be patient here to avoid scorching and to get that perfect texture for binding.
Step 3: Add Salt and Color
Remove the bowl from the heat and quickly whisk in the half teaspoon of salt to bring out all the sweet notes. Then, drop in 2-3 drops of red food coloring. Stir thoroughly to make sure the color is distributed evenly, turning the marshmallow mixture into a blood-red base that’s perfect for replicating those eerie Halloween brains.
Step 4: Combine with Rice Krispies
Pour your red-tinted marshmallow mixture over the Rice Krispies cereal in a large mixing bowl. Immediately stir with a spatula or wooden spoon to coat every crunchy piece while the marshmallow is still warm and sticky, so the texture stays wonderfully crisp yet chewy.
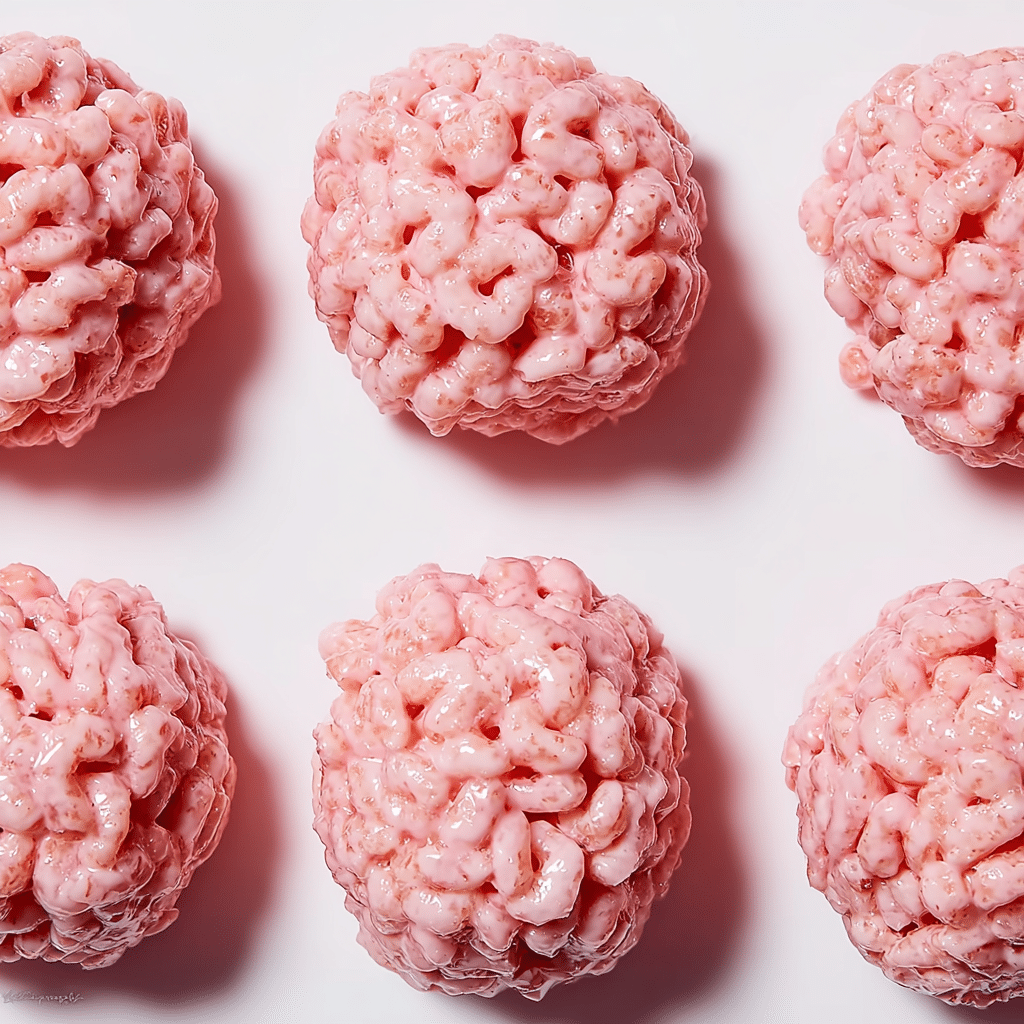
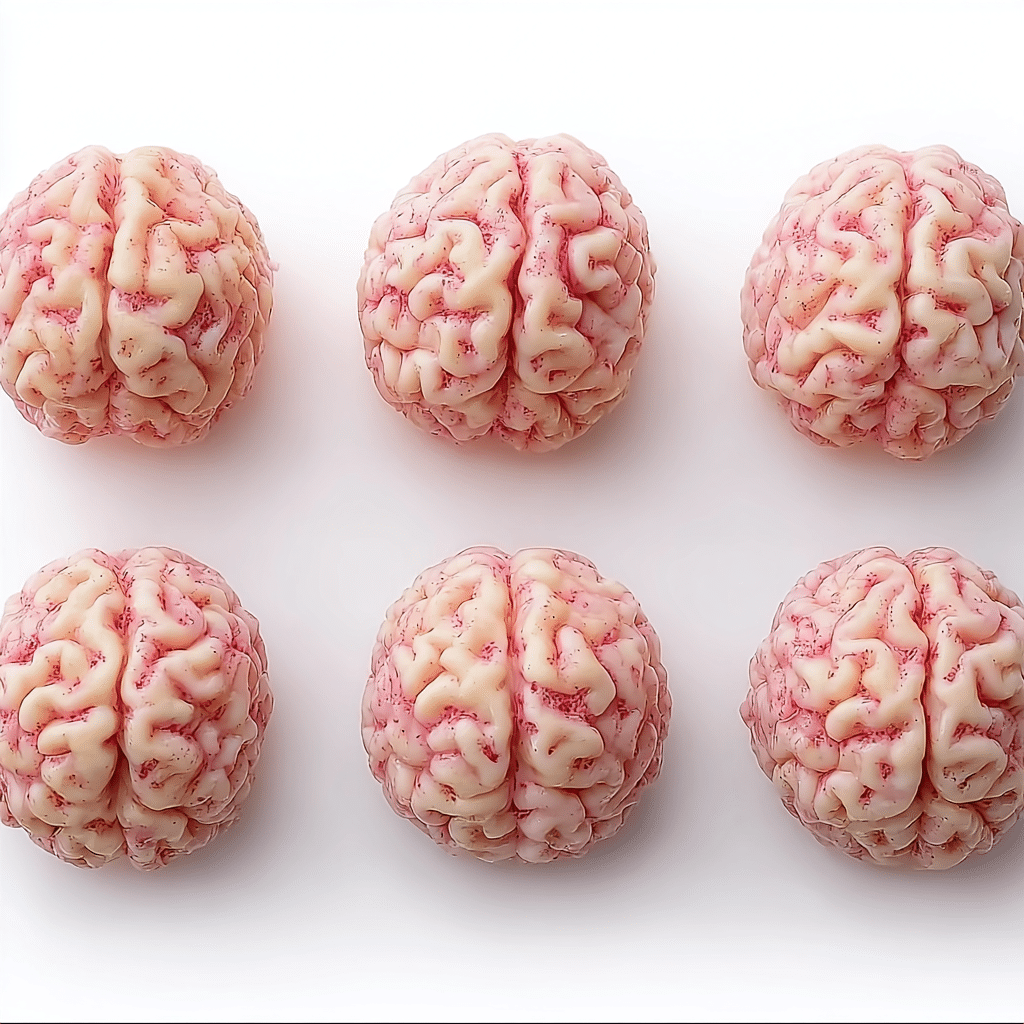
Step 5: Shape and Decorate the Brains
Oil your hands lightly to prevent sticking, then scoop and shape portions of the mixture into oval, brain-like forms. Use a butter knife to carve a deep groove down the center to mimic a brain’s hemispheres. For the finishing touch, dip a toothpick into red food coloring and draw realistic vein patterns on the surface—this step adds that spooky, creepy flair that makes Marshmallow Rice Krispies Halloween Brains extra irresistible at any party table.
How to Serve Marshmallow Rice Krispies Halloween Brains
Garnishes
Elevate the presentation by sprinkling edible glitter or tiny candy eyeballs around the brains for extra ghastly fun. A few strategically placed colored sprinkles or edible gel can also add more “ooze” and texture to make them truly stand out.
Side Dishes
These Halloween brains pair wonderfully with a chilled glass of fruit punch for a sweet contrast or a spooky dark chocolate dip to add richness and decadence. You can also serve alongside other treats like candy corn or ghost-shaped cookies for a complete themed dessert spread.
Creative Ways to Present
Serve your Marshmallow Rice Krispies Halloween Brains on a black or silver platter lined with creepy cobweb decorations. Alternatively, arrange them on individual small plates with green candy “moss” made from crumbled pistachios or dyed coconut for a graveyard grave effect that’s sure to awe your guests.
Make Ahead and Storage
Storing Leftovers
To keep your delicious Halloween brains fresh, store them in an airtight container at room temperature. This will help maintain their perfect chewy-crisp texture for up to three days—but they tend to disappear quickly!
Freezing
If you want to make these ahead of time, you can freeze them by wrapping each brain tightly in plastic wrap and placing them in a freezer-safe bag. When stored this way, they will keep well for up to one month without losing their taste or fun texture.
Reheating
Gently let frozen Marshmallow Rice Krispies Halloween Brains thaw at room temperature before serving; avoid microwaving as this may alter their texture and make them too soft or sticky. A few minutes on the counter is all it takes to bring back their irresistible chewiness.
FAQs
Can I use mini marshmallows instead of regular-sized ones?
Absolutely! Mini marshmallows will melt even faster and blend seamlessly, making the process a bit quicker without affecting the final flavor or texture.
What if I don’t have red food coloring? Any alternatives?
You can try natural alternatives like beet juice or pomegranate concentrate, but keep in mind the color may not be as bright or consistent, and it may slightly affect taste.
Can I add other flavors to the recipe?
Sure thing! A drop of vanilla extract or a sprinkle of cinnamon can add warmth and depth, but since this is a holiday-themed treat, keeping it classic often works best.
How do I prevent the mixture from sticking to my hands?
Oiling your hands lightly with butter or cooking spray before shaping is the secret to easy handling and smooth shaping without mess.
Is this recipe suitable for large crowds?
Definitely! The recipe scales up easily, so just multiply the ingredients and make as many brains as you need. They are always a big hit!
Final Thoughts
There is something truly magical about transforming a simple childhood favorite into these delightfully spooky Marshmallow Rice Krispies Halloween Brains. They are not only a treat to eat but also a blast to make and present, bringing smiles and a bit of eerie fun to any Halloween party. I absolutely encourage you to grab those ingredients and give this recipe a try—your friends and family will be asking for them year after year!
PrintMarshmallow Rice Krispies Halloween Brains Recipe

Create spooky and delicious Marshmallow Rice Krispies Halloween Brains that are perfect for a fun and festive treat. These easy-to-make treats combine gooey marshmallows and crispy cereal, shaped and decorated to look like realistic Halloween brains, adding a creepy yet tasty element to your holiday celebrations.
- Prep Time: 10 minutes
- Cook Time: 10 minutes
- Total Time: 20 minutes
- Yield: 8–10 brain-shaped treats 1x
- Category: Dessert, Halloween Treat
- Method: Melting and Mixing, No-Bake
- Cuisine: American
- Diet: Vegetarian
Ingredients
Main Ingredients
- 6 tbsp Unsalted butter – creates smooth base
- 6 cups Regular marshmallows – primary binding agent
- 4 cups Rice Krispies cereal – texture foundation
- ½ tsp Salt – enhances sweetness
- Red food coloring – as needed to create brain effect
Instructions
- Prepare Bain-Marie: Fill a medium saucepan with ½ cup water and bring it to a gentle boil. Place a heatproof bowl over the saucepan ensuring the bottom of the bowl does not touch the water to create a bain-marie setup for slow melting.
- Melt Butter and Marshmallows: Add the unsalted butter and marshmallows to the heatproof bowl. Stir continuously with a whisk until the mixture melts completely and becomes smooth, glossy, and well combined.
- Add Salt and Coloring: Remove the bowl from heat. Whisk in ½ teaspoon salt and then add 2 to 3 drops of red food coloring. Mix thoroughly to evenly distribute the color and enhance the appearance of the ‘brain’.
- Combine with Cereal: Pour the marshmallow mixture over the Rice Krispies cereal in a large mixing bowl. Stir quickly but carefully to coat all the cereal evenly without crushing the flakes.
- Shape the Brains: Lightly oil your hands to prevent sticking. Take portions of the coated cereal mixture and shape them into oval forms resembling brains. Use a butter knife to carve a groove down the center to mimic the brain’s natural folds.
- Add Veins for Effect: Dip a toothpick in red food coloring and draw vein-like patterns on the brain shapes to create a realistic and spooky Halloween effect.
Notes
- Use a light hand when mixing the cereal with the marshmallow mixture to keep the crispy texture.
- Adjust the amount of red food coloring based on how vivid you want the brain effect to be.
- Keep hands lightly oiled to make shaping easier and less sticky.
- Store the finished brains in an airtight container at room temperature for up to 3 days for optimal freshness.
- For extra detail, consider dusting the brains with a little cocoa powder to add depth and realism.
Nutrition
- Serving Size: 1 brain-shaped treat (approx. 1/10th of recipe)
- Calories: 190
- Sugar: 20g
- Sodium: 85mg
- Fat: 5g
- Saturated Fat: 3g
- Unsaturated Fat: 2g
- Trans Fat: 0g
- Carbohydrates: 34g
- Fiber: 0.5g
- Protein: 1g
- Cholesterol: 12mg
Keywords: Halloween treats, spooky snacks, marshmallow treats, Rice Krispies brains, no-bake dessert