Cheesecake-Stuffed Strawberries Recipe
Introduction
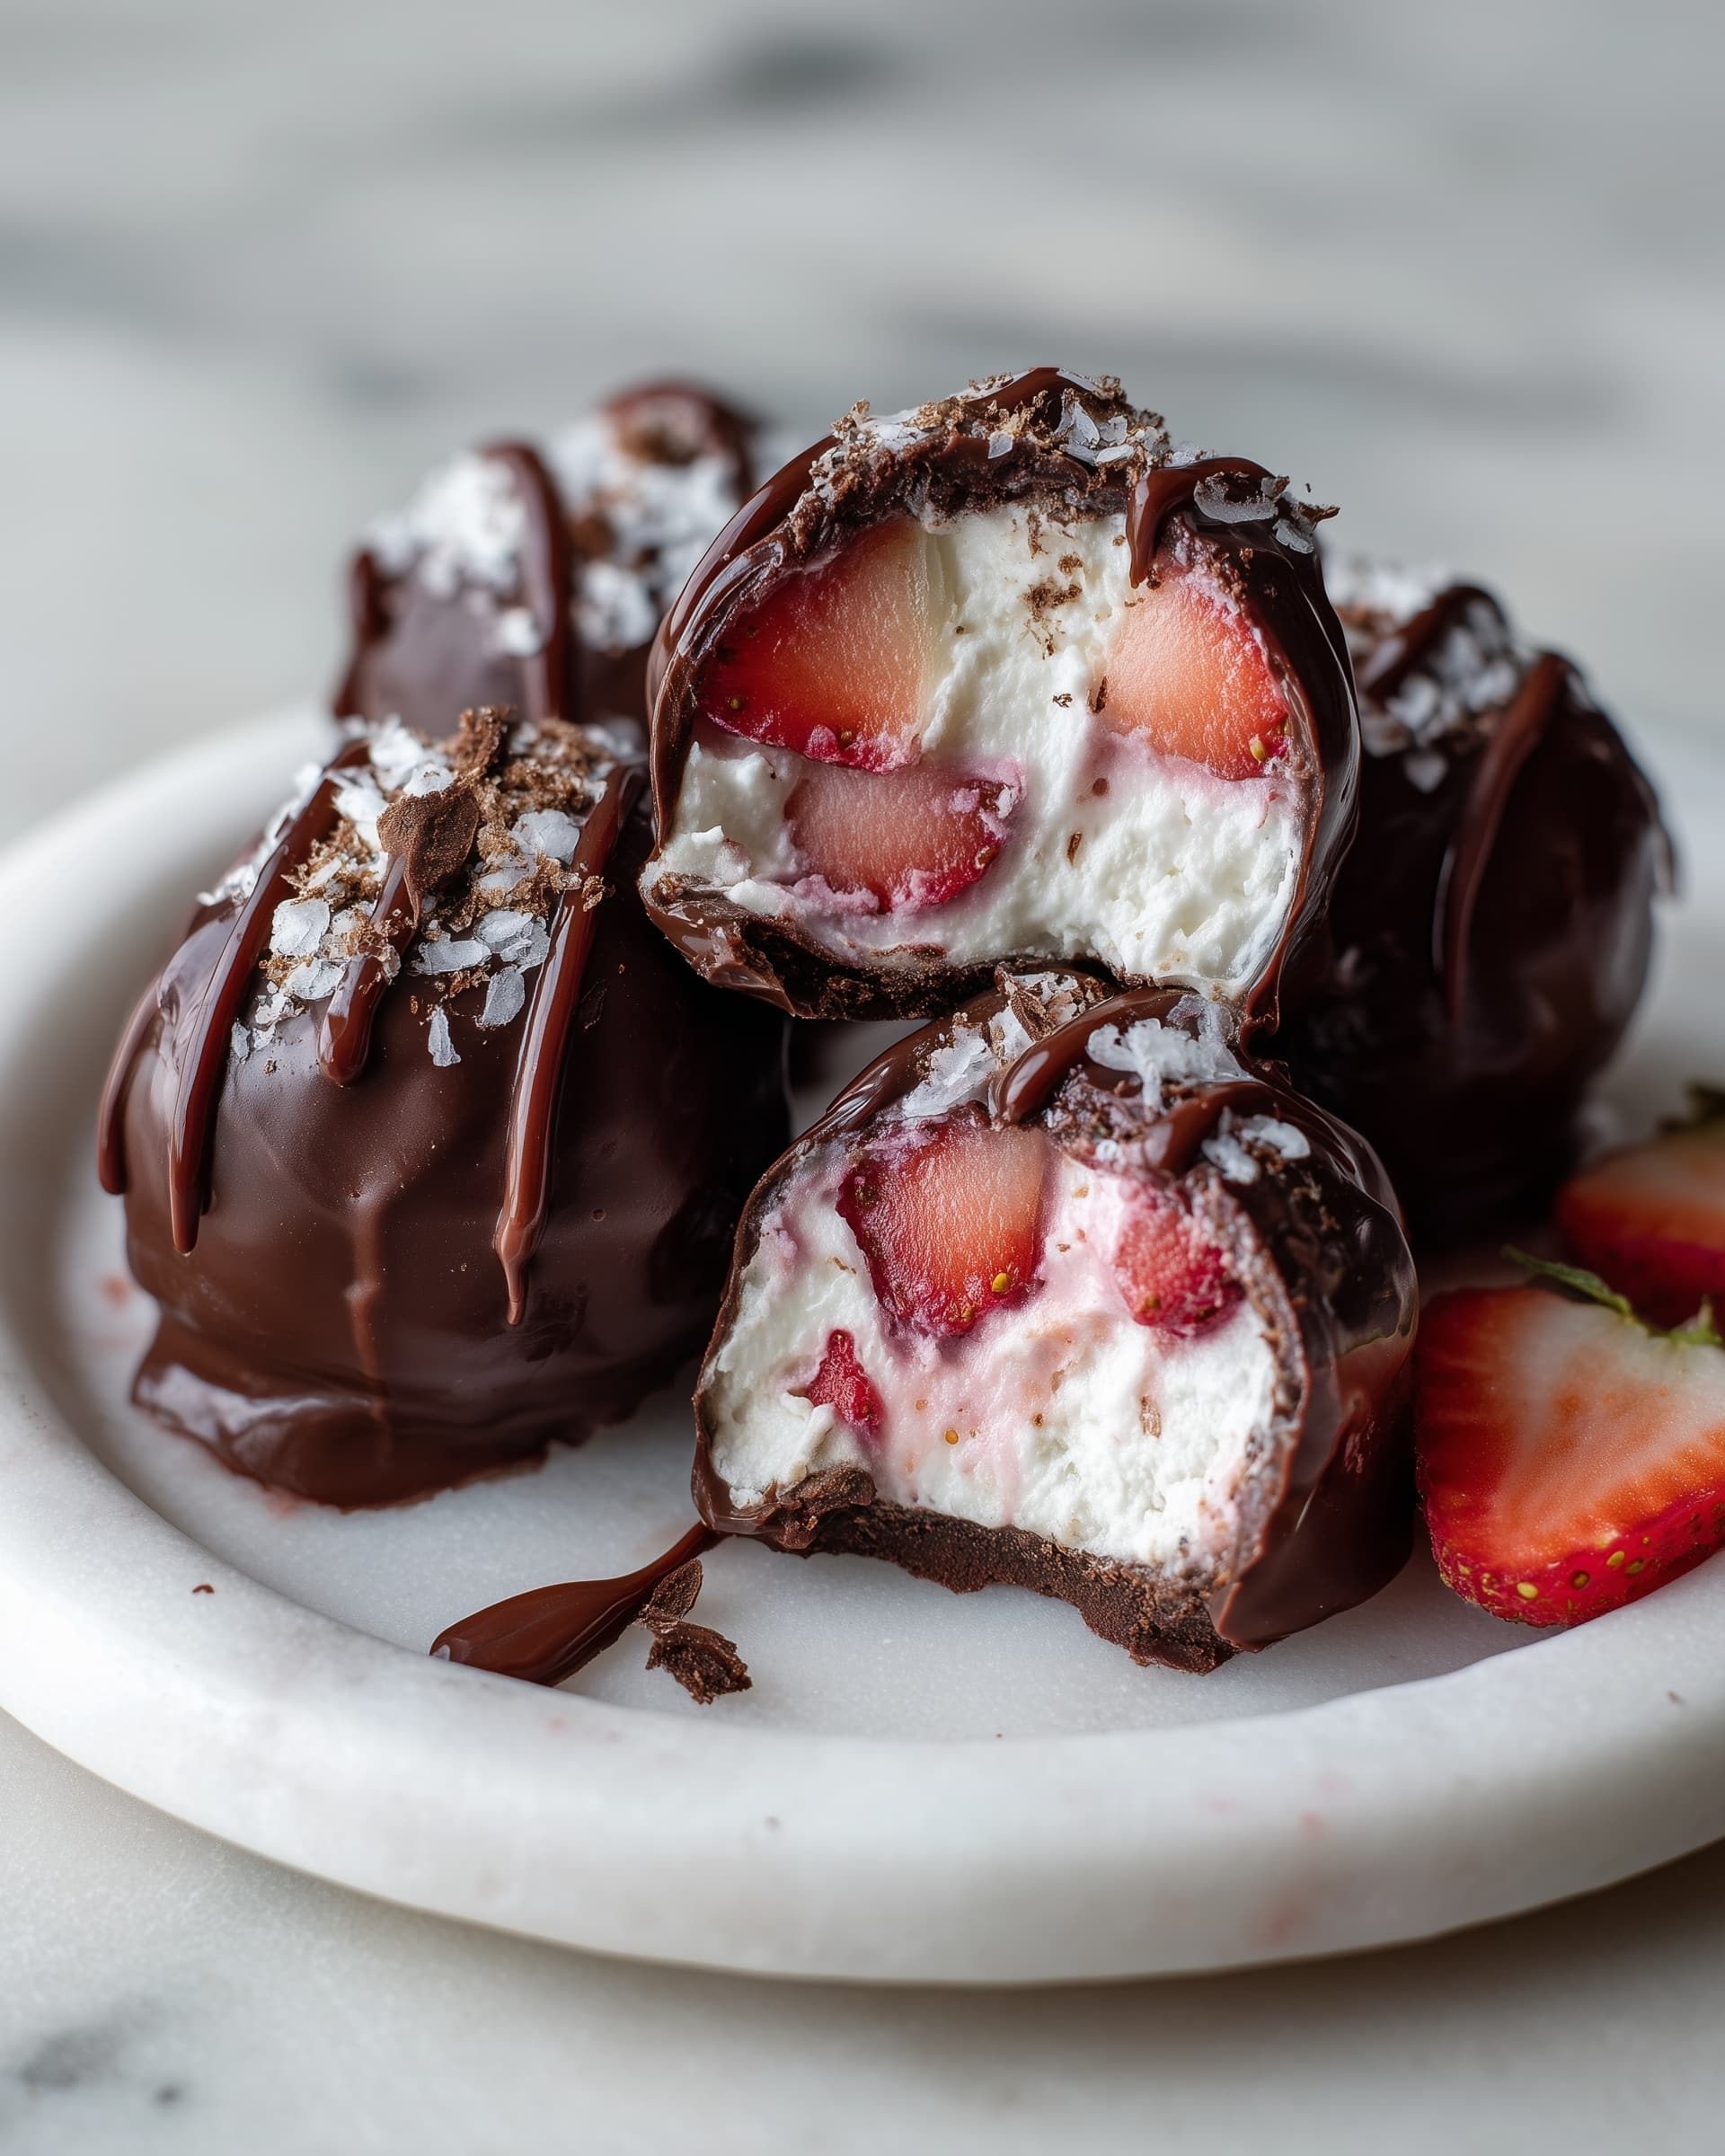
Cheesecake-stuffed strawberries are a delightful and easy-to-make treat that combines the freshness of berries with creamy, sweet filling. Perfect for parties or a special dessert, these bites are sure to impress your guests.
Ingredients
- 20 large strawberries
- 4 ounces cream cheese, softened
- 2 tablespoons sugar
Instructions
- Step 1: Wash and hull the strawberries, removing the stems and creating a small cavity for the filling.
- Step 2: In a bowl, combine the softened cream cheese and sugar until smooth and creamy.
- Step 3: Using a piping bag or a small spoon, carefully fill each strawberry cavity with the cream cheese mixture.
- Step 4: Arrange the stuffed strawberries on a platter and chill in the refrigerator for at least 30 minutes before serving.
Tips & Variations
- For extra flavor, mix in a teaspoon of vanilla extract or lemon zest into the cream cheese filling.
- Swap sugar with honey or maple syrup for a natural sweetener alternative.
- Garnish with finely chopped nuts or a drizzle of melted chocolate before chilling.
Storage
Store the stuffed strawberries in an airtight container in the refrigerator for up to 2 days. They are best enjoyed fresh but can be gently reheated to room temperature if preferred.
How to Serve
Serve this delicious recipe with your favorite sides.
FAQs
Can I prepare cheesecake-stuffed strawberries in advance?
Yes, you can prepare them a few hours ahead of time and keep them refrigerated until serving, but it’s best to consume within 2 days for optimal freshness.
What can I use instead of cream cheese?
You can substitute cream cheese with mascarpone or ricotta cheese for a different texture and flavor, though sweetness may need adjustment.
PrintCheesecake-Stuffed Strawberries Recipe

Cheesecake-Stuffed Strawberries are a delightful and easy-to-make dessert featuring fresh strawberries filled with a creamy, sweetened cream cheese mixture. This no-bake treat is perfect for summer gatherings, parties, or a light indulgence anytime.
- Prep Time: 15 minutes
- Cook Time: 0 minutes
- Total Time: 1 hour 15 minutes
- Yield: 20 stuffed strawberries 1x
- Category: Dessert
- Method: No-Cook
- Cuisine: American
- Diet: Vegetarian
Ingredients
Ingredients
- 1 pint fresh strawberries, hulled
- 8 oz cream cheese, softened
- 1/4 cup granulated sugar
- Optional: 1/2 teaspoon vanilla extract for added flavor
Instructions
- Prepare the Strawberries: Rinse the strawberries under cold water and gently pat dry. Remove the hulls and cores using a small knife or a strawberry huller to create space for the filling without creating holes in the sides.
- Make the Filling: In a medium bowl, combine the softened cream cheese, granulated sugar, and vanilla extract, if using. Mix with a hand mixer or whisk until the mixture is smooth, creamy, and well blended.
- Fill the Strawberries: Transfer the cream cheese mixture to a piping bag fitted with a small round tip or use a plastic bag with a corner cut off. Pipe the filling into each hollowed-out strawberry, filling them generously to the top.
- Chill: Arrange the stuffed strawberries on a serving plate or tray. Cover loosely with plastic wrap and refrigerate for at least 1 hour to allow the filling to firm up and the flavors to meld.
- Serve and Enjoy: Serve the cheesecake-stuffed strawberries chilled as a refreshing and delicious dessert or snack.
Notes
- Use fresh, ripe strawberries for best flavor and presentation.
- Softened cream cheese ensures a smooth filling without lumps.
- Vanilla extract is optional but adds a nice depth of flavor.
- These can be prepared a few hours ahead, making them great for entertaining.
- For variation, consider adding a tablespoon of crushed graham crackers to the filling for texture.
Keywords: Cheesecake-stuffed strawberries, no-bake dessert, cream cheese dessert, summer dessert, easy party dessert