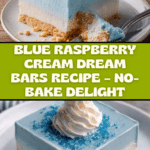
Blue Raspberry Cream Dream Bars Recipe
Introduction
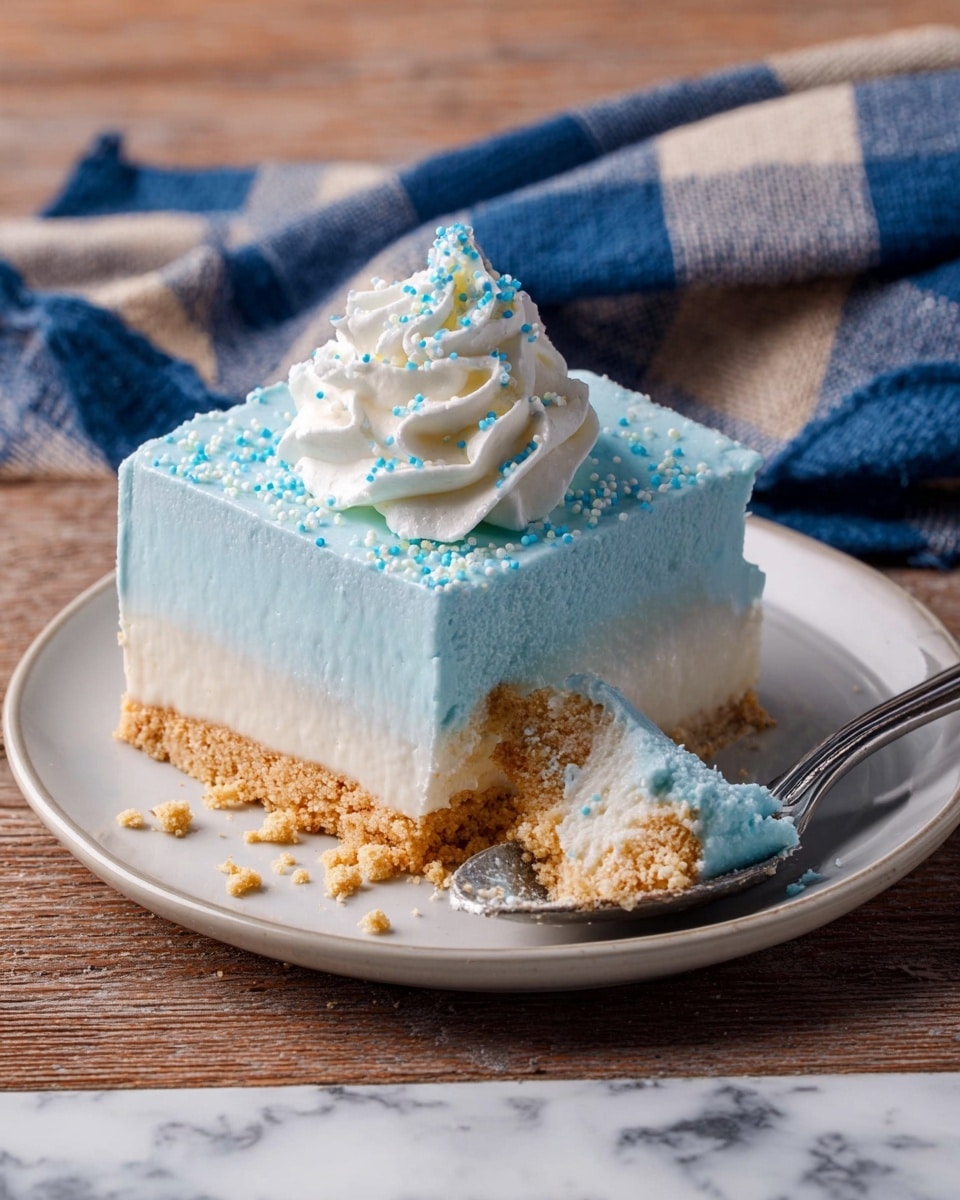
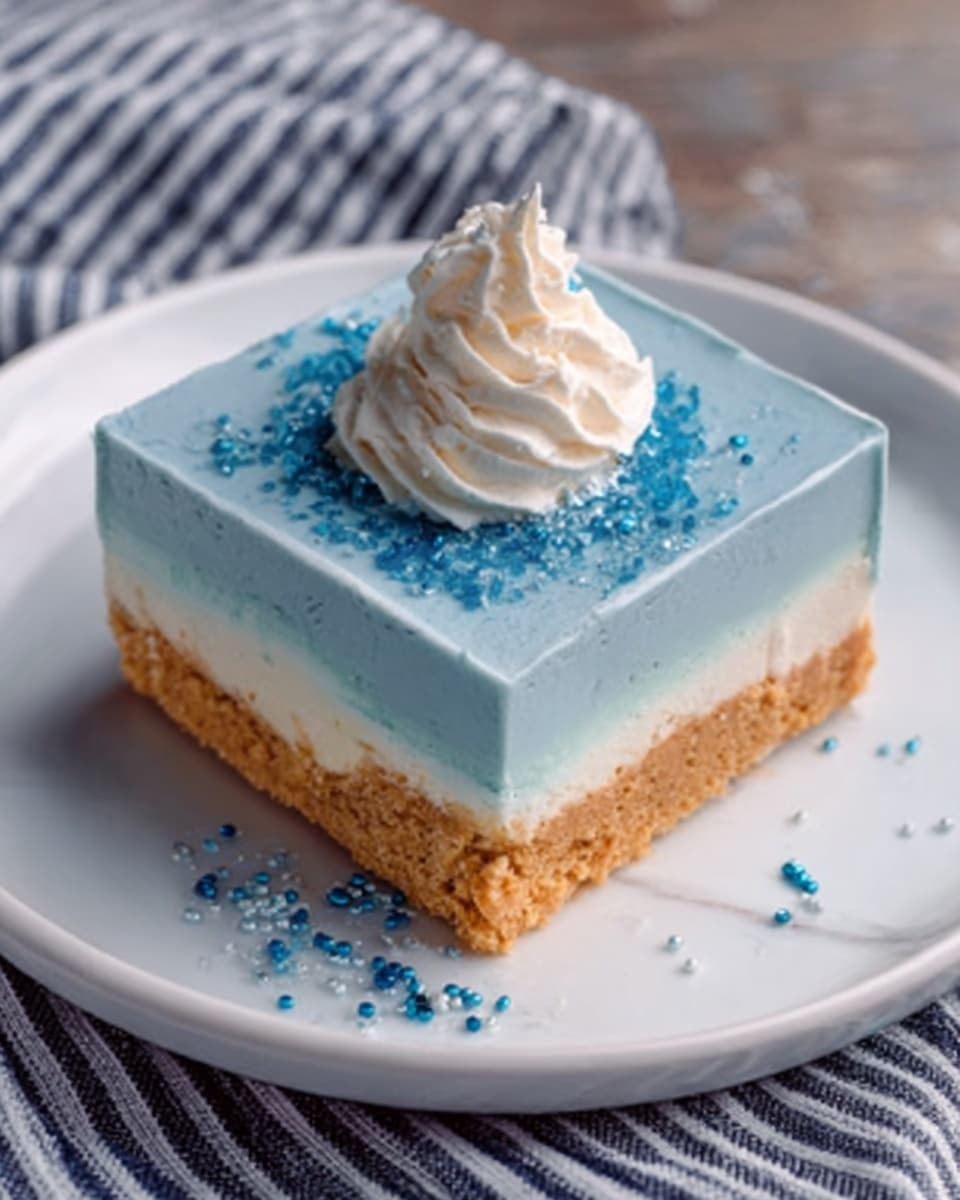
Blue Raspberry Cream Dream Bars are a vibrant and creamy treat that combines a crunchy Nilla wafer crust with luscious layers of blue raspberry gelatin and creamy cheesecake. These no-bake bars are perfect for summer gatherings or any time you want a refreshing dessert with a pop of color.
Ingredients
- 8 ounces Cool Whip or 1 recipe of Stabilized Whipped Cream
- 1 ½ cups Nilla Wafer Cookie Crumbs (about 45 cookies)
- 5 tablespoons unsalted butter
- 3 ounce package blue raspberry jello
- 3/4 cup boiling water
- 3/4 cup cold water
- 8 ounces cream cheese (room temperature)
- 1 teaspoon raspberry extract
- 8 -10 drops blue food coloring
- 2 cups Cool Whip or Stabilized Whipped Cream
- 8 ounces cream cheese (room temperature)
- 1 cup powdered sugar
- 1 teaspoon pure vanilla extract
- 1 cup Cool Whip
- Additional Cool Whip, Stabilized Whipped Cream or canned whipped cream for serving (optional)
- Blue sugar for sprinkling (optional)
- Blue sprinkles or edible decorations (optional)
Instructions
- Step 1: Line an 8 x 8-inch baking pan with parchment paper, allowing excess to hang over the sides for easy removal later.
- Step 2: Melt 5 tablespoons of unsalted butter in the microwave for about 30 seconds, stirring once. Add another 5-10 seconds if needed to fully melt.
- Step 3: Pulse Nilla Wafers in a food processor until fine crumbs form. Combine the crumbs with melted butter and mix thoroughly with a spatula.
- Step 4: Press the crumb mixture firmly into the prepared pan to form an even crust. Place the pan in the freezer for at least 30 minutes while you prepare the other layers.
- Step 5: In a 2-cup measuring cup, dissolve the blue raspberry gelatin in 3/4 cup boiling water. Stir well until fully dissolved, then add 3/4 cup cold water. Refrigerate until cooled but not set, about 10 minutes.
- Step 6: In a bowl, beat 8 ounces of room temperature cream cheese with raspberry extract and blue food coloring until smooth.
- Step 7: Gradually pour the chilled gelatin into the cream cheese mixture while beating until smooth. Refrigerate this mixture for 1 hour to chill and thicken.
- Step 8: In a separate bowl, beat another 8 ounces of cream cheese with powdered sugar and vanilla extract until creamy. Fold in 1 cup of Cool Whip gently using a rubber spatula.
- Step 9: Spread dollops of the cheesecake mixture evenly over the frozen crust, then smooth into an even layer with an offset spatula.
- Step 10: Fold the remaining 2 cups of Cool Whip into the chilled blue raspberry cream mixture until evenly combined and smooth.
- Step 11: Gently pour the blue raspberry cream layer over the cheesecake layer and spread evenly with an offset spatula.
- Step 12: Refrigerate the assembled bars overnight or for at least 6 hours to fully set—overnight refrigeration is best.
- Step 13: To slice, lift the bars from the pan using the parchment paper. Dip a large knife in hot water, dry it, and slice the bars cleanly, wiping the knife between cuts.
- Step 14: Serve with extra Cool Whip or Stabilized Whipped Cream and sprinkle with blue sugar or decorations if desired.
- Step 15: (Optional) To make blue sugar: mix 2 tablespoons granulated sugar with 2 drops blue food coloring in a small bowl. Spread on a folded paper towel to dry, then use to garnish.
Tips & Variations
- Use Stabilized Whipped Cream if you want longer-lasting bars that hold shape better, especially for parties.
- Try substituting raspberry extract with lemon or vanilla for a different flavor twist.
- Sprinkle with edible glitter or colorful sprinkles to make these bars extra festive.
- Make the crust with graham cracker crumbs instead of Nilla Wafers for a slightly different texture.
Storage
Store the bars covered in the refrigerator for up to 3 days. For best texture, slice before storing and keep airtight. When ready, serve chilled or let sit at room temperature for 10 minutes. Bars are not recommended for freezing due to the gelatin layer.
How to Serve
Serve this delicious recipe with your favorite sides.
FAQs
Can I make these bars ahead of time?
Yes, these bars taste best when made the day before. Refrigerate overnight to allow the layers to set fully and develop their flavors.
What if I don’t have blue food coloring?
You can omit the food coloring if desired, though the bars will not have the signature vibrant blue color. The flavor will remain delicious either way.
PrintBlue Raspberry Cream Dream Bars Recipe
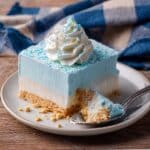
Blue Raspberry Cream Dream Bars are a delightful no-bake dessert featuring a crunchy Nilla wafer crust, a tangy blue raspberry gelatin cream layer, and a creamy cheesecake topping. Perfectly chilled and garnished with fun blue sugar sprinkles, these bars are a refreshing and visually stunning treat for any occasion.
- Prep Time: 20 minutes
- Cook Time: 0 minutes
- Total Time: 7 hours 20 minutes (including chilling and freezing time)
- Yield: 16 bars 1x
- Category: Dessert
- Method: No-Cook
- Cuisine: American
Ingredients
Crust
- 1 ½ cups Nilla Wafer Cookie Crumbs (about 45 cookies)
- 5 tablespoons unsalted butter
Blue Raspberry Gelatin Layer
- 3 ounce package blue raspberry Jello
- 3/4 cup boiling water
- 3/4 cup cold water
- 8 ounces cream cheese (room temperature)
- 1 teaspoon raspberry extract
- 8 – 10 drops blue food coloring
Cheesecake Layer
- 8 ounces cream cheese (room temperature)
- 1 cup powdered sugar
- 1 teaspoon pure vanilla extract
- 1 cup Cool Whip
Additional Layers and Garnish
- 2 cups Cool Whip (or Stabilized Whipped Cream)
- Additional Cool Whip or Stabilized Whipped Cream for serving (optional)
- Blue sugar (for sprinkling, optional)
- Blue sprinkles or edible decorations (optional)
Instructions
- Prepare Nilla Wafer Crust: Line an 8 x 8-inch baking pan with parchment paper for easy removal. Melt 5 tablespoons unsalted butter in the microwave. In a food processor, pulse Nilla Wafers into fine crumbs. Mix crumbs with melted butter until well combined. Press the mixture evenly into the prepared pan to form the crust. Freeze for at least 30 minutes.
- Make Blue Raspberry Gelatin: Dissolve blue raspberry Jello in 3/4 cup boiling water, stirring until fully dissolved. Add 3/4 cup cold water and stir. Refrigerate until gelatin is completely cooled but not set, about 10 minutes.
- Prepare Blue Raspberry Cream Layer: In a mixing bowl, beat 8 ounces cream cheese with raspberry extract and blue food coloring until smooth. Gradually mix in the chilled gelatin until smooth. Refrigerate the mixture to thicken for one hour.
- Make Cheesecake Layer: Beat 8 ounces cream cheese, powdered sugar, and vanilla extract until creamy. Fold in 1 cup of Cool Whip using a rubber spatula until combined.
- Assemble Cheesecake Layer: Spread dollops of the cheesecake mixture onto the frozen crust and smooth evenly with an offset spatula.
- Finish Blue Raspberry Layer: Fold the remaining approximately 2 cups of Cool Whip into the chilled blue raspberry cream until evenly combined and smooth. Gently pour this over the cheesecake layer and spread evenly.
- Chill Bars: Refrigerate the layered bars overnight or for a minimum of 6 hours to set completely.
- Slice and Serve: Remove bars from pan using the parchment paper. Use a large knife dipped in hot water, wiped dry, for clean slices. Serve with additional Cool Whip and sprinkle with blue sugar or edible decorations as desired.
- Make Blue Sugar Garnish: Mix 2 tablespoons granulated sugar with 2 drops blue food coloring until evenly colored. Spread on folded paper towel and allow to dry. Sprinkle over bars before serving for a sparkling finish.
Notes
- To achieve a stable whipped cream texture, use stabilized whipped cream if preferred.
- Chill the blue raspberry gelatin cream layer for one hour until thickened to ensure perfect layering.
- Use parchment lining to help remove bars easily and make slicing cleaner.
- Dipping the knife in hot water and drying it between cuts helps create neat slices.
- Blue sugar garnish adds a festive touch but is optional.
Keywords: blue raspberry bars, no bake dessert, cream bars, easy summer dessert, layered bars, cheesecake bars, gelatin dessert