Brookie Protein Balls Recipe
Introduction
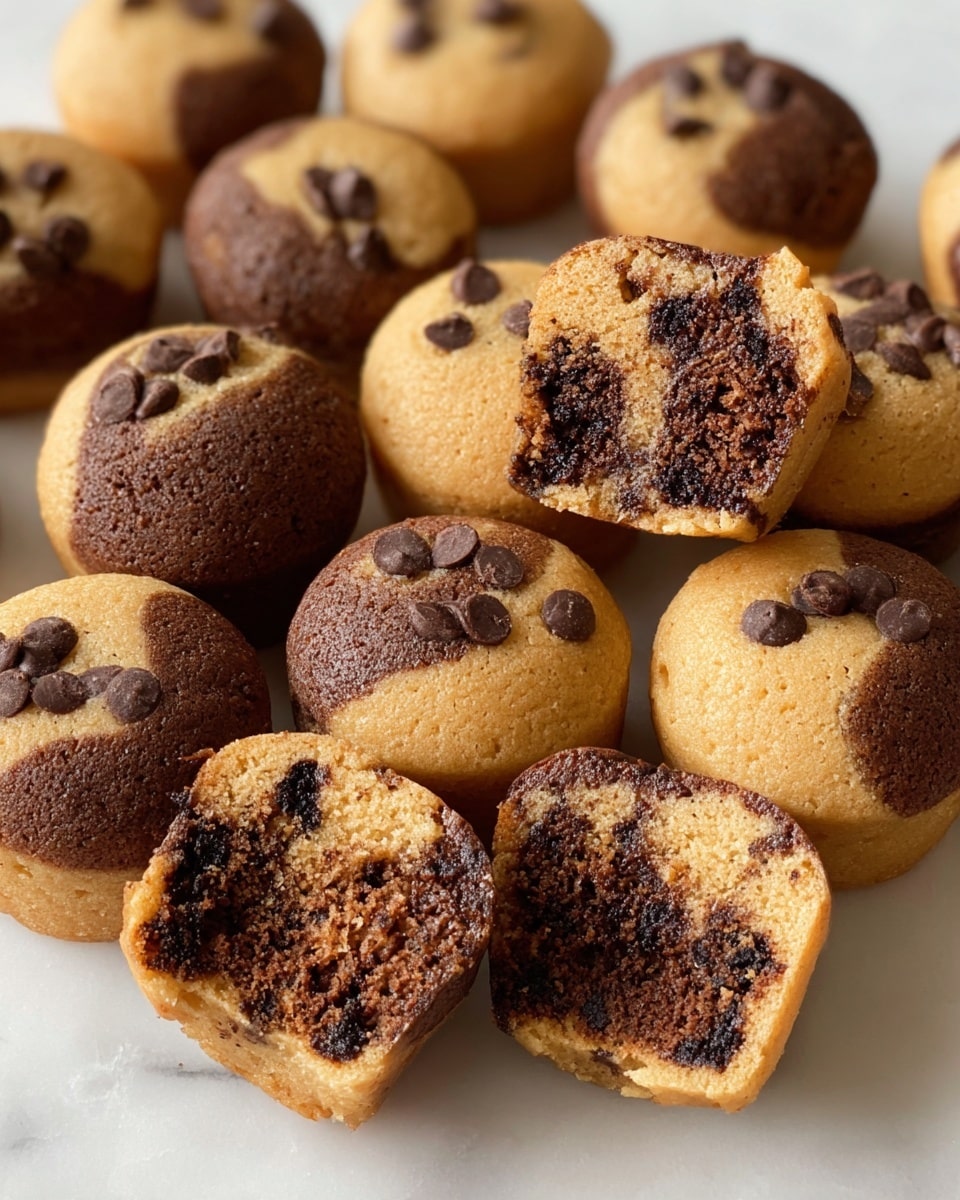
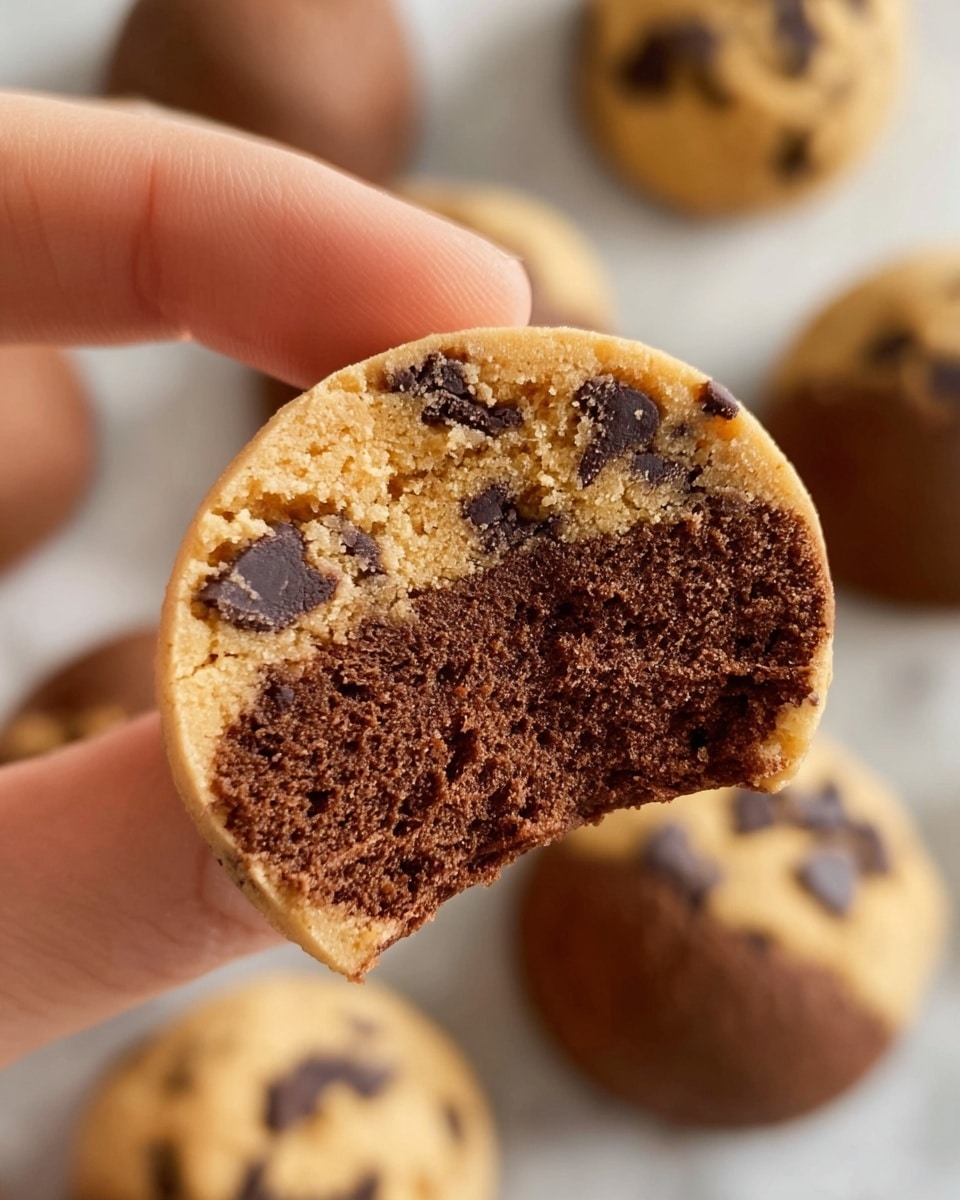
Brookie Protein Balls are the perfect blend of brownie and cookie flavors packed into a nutritious, bite-sized treat. They combine the richness of chocolate with a boost of plant-based protein, making them great for a quick snack or post-workout fuel.
Ingredients
- 1 cup drippy cashew butter
- 1/2 cup vanilla pea protein
- 1/4 cup maple syrup
- 2 tbsp milk of choice
- 1 tsp vanilla extract
- 1/4 cup + 2-3 tbsp chocolate chips, divided
- 3 tbsp cacao powder
Instructions
- Step 1: In a mixing bowl, combine the cashew butter, maple syrup, milk, and vanilla extract. Stir until the mixture is smooth and well blended.
- Step 2: Add the vanilla pea protein to the mixture and stir thoroughly to remove any clumps.
- Step 3: Divide the batter evenly into two separate bowls, about 3/4 cup in each.
- Step 4: To one bowl, fold in 2-3 tablespoons of chocolate chips.
- Step 5: To the second bowl, mix in the cacao powder and then add the remaining 2-3 tablespoons of chocolate chips.
- Step 6: Scoop out 16 small balls (about 2 teaspoons each) from each batter bowl.
- Step 7: Gently roll together one cookie dough ball and one brownie batter ball to form a single brookie ball. Repeat until all balls are combined.
Tips & Variations
- For a nut-free option, substitute cashew butter with sunflower seed butter.
- Add a pinch of sea salt to enhance the chocolate flavor.
- Use dark chocolate chips for a richer taste or dairy-free chips if preferred.
- Adjust sweetness by adding a little more or less maple syrup according to taste.
Storage
Store brookie protein balls in an airtight container in the refrigerator for up to one week. For longer storage, freeze them for up to one month. Let thaw briefly at room temperature before enjoying.
How to Serve
Serve this delicious recipe with your favorite sides.
FAQs
Can I use a different protein powder?
Yes, you can substitute vanilla pea protein with any vanilla-flavored plant-based or whey protein powder, but it may slightly change the texture.
Are these protein balls vegan?
Yes, when using plant-based protein powder, plant milks, and vegan chocolate chips, these brookie protein balls are fully vegan.
PrintBrookie Protein Balls Recipe

Delicious and nutritious Brookie Protein Balls combine the best of both worlds: cookie dough and brownie batter flavors packed into a convenient, bite-sized protein-packed treat. Perfect as a quick snack or post-workout boost, these no-bake protein balls are easy to make with cashew butter, vanilla pea protein, cacao powder, and chocolate chips, offering a rich, satisfying flavor with a vegan-friendly profile.
- Prep Time: 10 minutes
- Cook Time: 0 minutes
- Total Time: 10 minutes
- Yield: 16 brookie protein balls 1x
- Category: Snack
- Method: No-Cook
- Cuisine: American
- Diet: Vegan
Ingredients
Main Ingredients
- 1 cup drippy cashew butter
- 1/2 cup vanilla pea protein
- 1/4 cup maple syrup
- 2 tbsp milk of choice
- 1 tsp vanilla extract
- 1/4+ cup chocolate chips
- 3 tbsp cacao powder
Instructions
- Mix Wet Ingredients: In a medium bowl, combine the cashew butter, maple syrup, milk of choice, and vanilla extract. Stir well until the mixture is smooth and creamy.
- Add Protein Powder: Gradually add the vanilla pea protein to the wet mixture, stirring continuously to eliminate any lumps and achieve a smooth batter.
- Divide Batter: Separate the combined batter equally into two bowls, about 3/4 cup each, preparing for the two distinct flavor profiles.
- Add Chocolate Chips and Cacao: To one bowl, mix in 2-3 tablespoons of chocolate chips. To the second bowl, incorporate the cacao powder and then add the remaining 2-3 tablespoons of chocolate chips, blending thoroughly.
- Form Brookie Balls: Portion out 16 balls from each batter, about 2 teaspoons each. Then gently roll together one cookie dough portion and one brownie batter portion to create each brookie protein ball. Repeat until all are combined.
- Store: Place the brookie protein balls in an airtight container and refrigerate to keep fresh and firm.
Notes
- Use any plant-based or dairy milk for the milk of choice to keep it vegan.
- Maple syrup can be substituted with agave nectar or honey (if not vegan).
- Keep the balls refrigerated to maintain their shape and freshness.
- For added texture, consider adding chopped nuts or seeds into either batter.
- These protein balls make a great pre or post-workout snack due to their balanced macronutrients.
Keywords: brookie protein balls, no-bake protein balls, vegan protein snack, cashew butter protein balls, pea protein snack, healthy snacks, post-workout snack