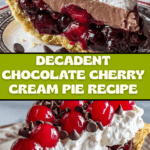
Chocolate Cherry Cream Pie Recipe
Introduction
Chocolate Cherry Cream Pie is a delightful dessert that combines rich chocolate pudding, sweet cherry filling, and fluffy whipped cream in a crisp pie crust. It’s perfect for any occasion when you want a creamy, fruity treat that’s easy to make.
Ingredients
- 1 pre-baked 9-inch pie crust
- 1 can (21 oz) cherry pie filling (or homemade)
- 1 box (3.9 oz) chocolate pudding mix
- 2 cups cold milk (for pudding mix)
- 1 ½ cups whipped cream (homemade or store-bought)
- ½ cup chocolate chips (semi-sweet or dark)
- Fresh cherries for garnish (optional)
Instructions
- Step 1: Ensure the pie crust is pre-baked and fully cooled before assembling.
- Step 2: Spread the cherry pie filling evenly across the bottom of the crust.
- Step 3: Prepare the chocolate pudding according to the package instructions using cold milk. Let it thicken slightly, then spread it over the cherry layer.
- Step 4: Gently spread whipped cream over the chocolate layer, creating a smooth, even topping.
- Step 5: Sprinkle chocolate chips over the whipped cream, and add fresh cherries for extra flavor and presentation.
- Step 6: Chill the pie in the refrigerator for at least 2 hours to allow the layers to set.
- Step 7: Slice and serve chilled for a rich and creamy chocolate-cherry treat!
Tips & Variations
- For extra richness, use homemade whipped cream sweetened with a touch of vanilla extract.
- Try using dark chocolate chips for a deeper chocolate flavor.
- Make your own cherry pie filling using fresh or frozen cherries and simple syrup for a fresher taste.
- Use a graham cracker crust instead of a traditional pie crust for a different texture and flavor.
Storage
Store the pie covered in the refrigerator for up to 3 days to keep the whipped cream fresh and the layers intact. For best texture and flavor, serve within this time frame. When ready to serve, slice the pie while chilled. Avoid freezing as whipped cream does not freeze well.
How to Serve
Serve this delicious recipe with your favorite sides.
FAQs
Can I make this pie ahead of time?
Yes, this pie can be assembled and refrigerated for up to 3 days ahead. Just make sure to keep it covered to prevent the whipped cream from drying out.
Can I use fresh cherries instead of canned pie filling?
Absolutely! Fresh or frozen cherries cooked down with a bit of sugar and cornstarch to thicken will make a delicious homemade filling.
PrintChocolate Cherry Cream Pie Recipe

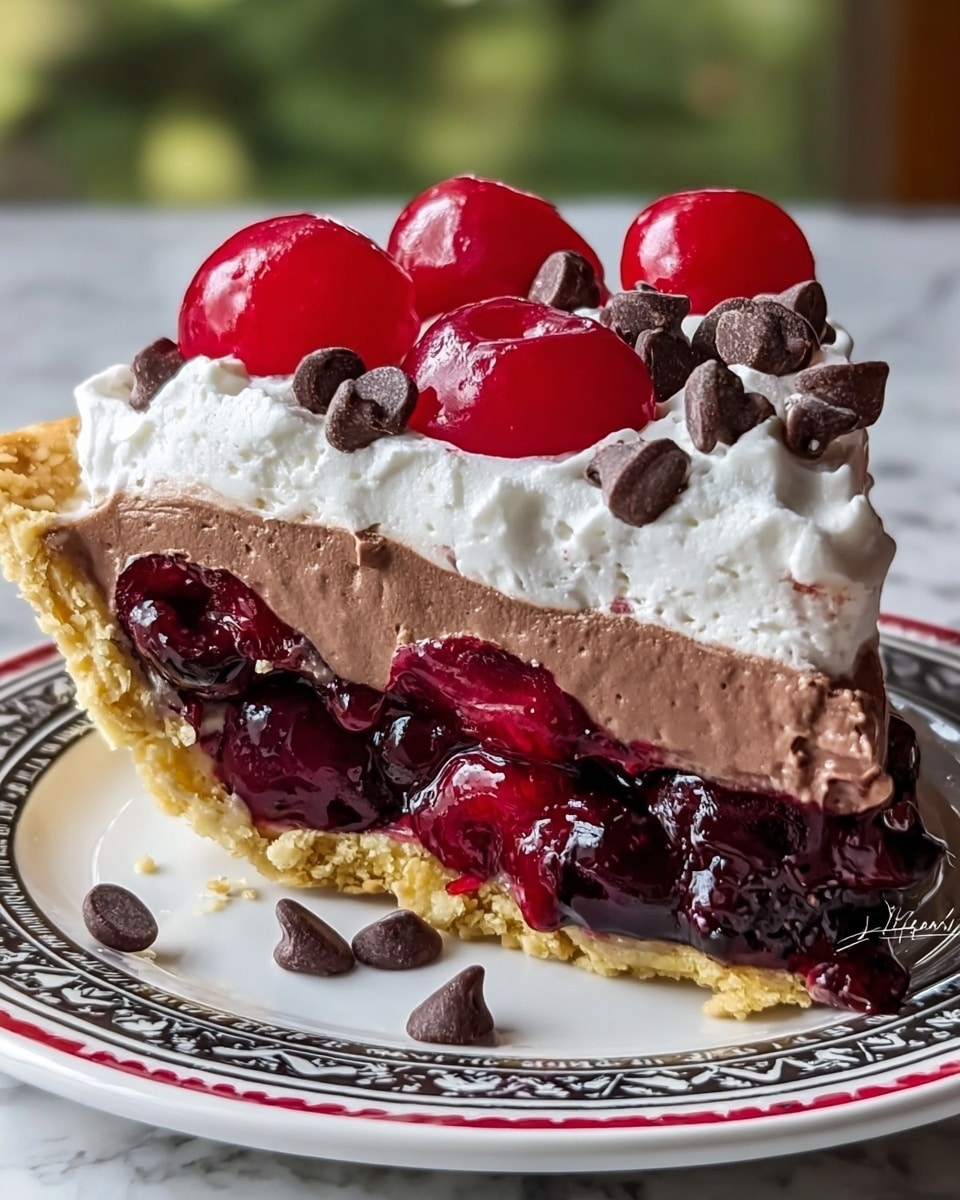
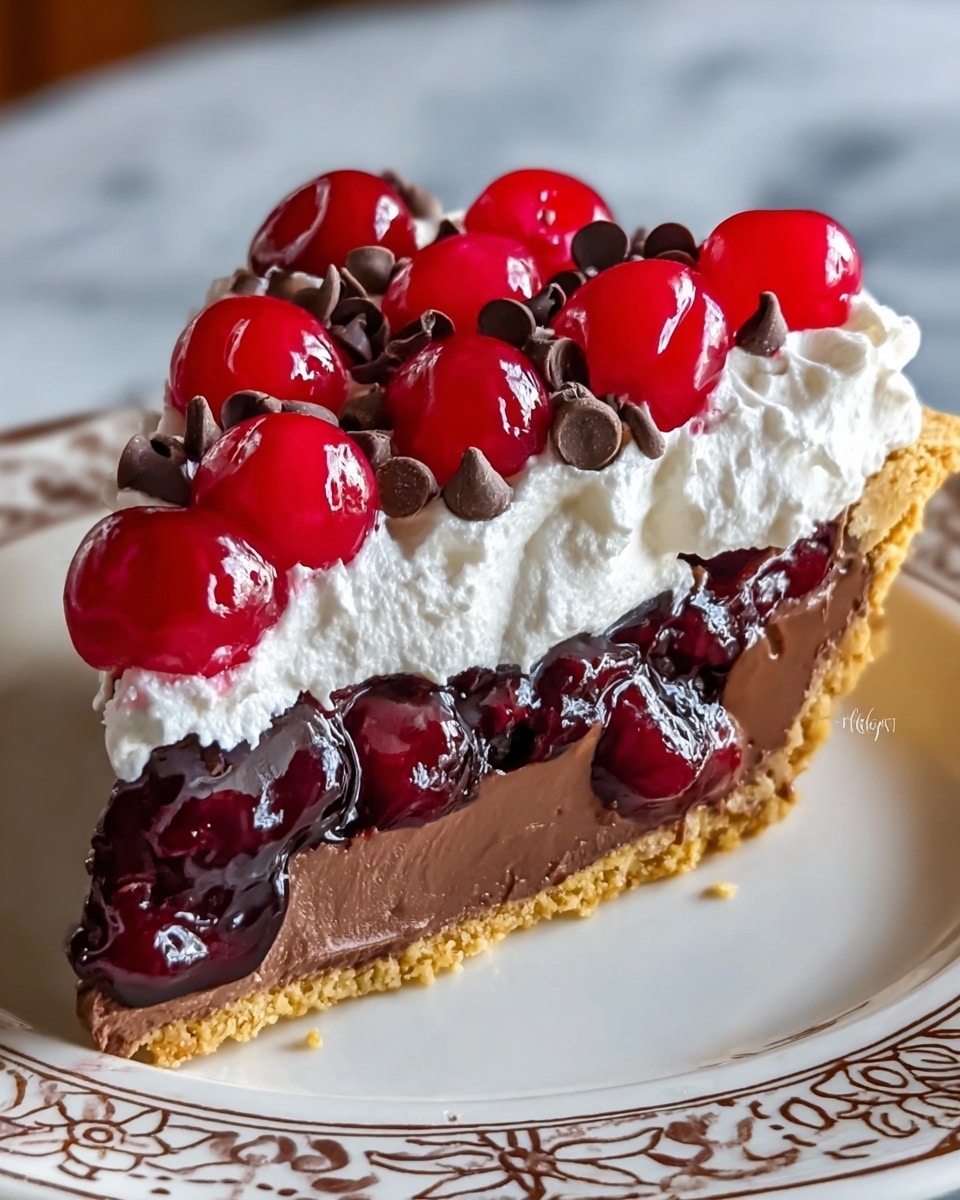
This decadent Chocolate Cherry Cream Pie combines a buttery pre-baked pie crust with a luscious layer of sweet cherry filling, topped with rich chocolate pudding and fluffy whipped cream. Finished with chocolate chips and fresh cherries, this no-bake dessert is perfect for any occasion and offers a delightful balance of fruity and chocolate flavors.
- Prep Time: 15 minutes
- Cook Time: 0 minutes
- Total Time: 2 hours 15 minutes
- Yield: 8 servings 1x
- Category: Dessert
- Method: No-Cook
- Cuisine: American
Ingredients
Pie Base and Filling
- 1 pre-baked 9-inch pie crust
- 1 can (21 oz) cherry pie filling (or homemade)
Chocolate Pudding Layer
- 1 box (3.9 oz) chocolate pudding mix
- 2 cups cold milk (for pudding mix)
Topping
- 1 ½ cups whipped cream (homemade or store-bought)
- ½ cup chocolate chips (semi-sweet or dark)
- Fresh cherries for garnish (optional)
Instructions
- Prepare the Pie Crust: Ensure the pie crust is pre-baked and fully cooled before assembling to provide a firm base for the layers.
- Add Cherry Filling: Spread the cherry pie filling evenly across the bottom of the cooled pie crust to form the fruity base layer.
- Make Chocolate Pudding: Prepare the chocolate pudding according to the package instructions, combining the pudding mix with cold milk. Allow it to thicken slightly before using.
- Layer Chocolate Pudding: Spread the thickened chocolate pudding evenly over the cherry filling, creating a smooth chocolate layer.
- Top with Whipped Cream: Gently spread the whipped cream over the chocolate pudding, smoothing the surface for an even topping.
- Add Garnishes: Sprinkle chocolate chips over the whipped cream and optionally add fresh cherries for enhanced flavor and presentation.
- Chill the Pie: Refrigerate the assembled pie for at least 2 hours to allow all the layers to set firmly.
- Serve: Slice and serve the pie chilled to enjoy the rich and creamy combination of chocolate and cherry flavors.
Notes
- For a homemade twist, use fresh cherries and homemade cherry filling.
- Chilling the pie overnight enhances flavor and texture.
- Substitute whipped cream with a dairy-free alternative to make the dessert lactose-free.
- To add crunch, sprinkle crushed nuts over the whipped cream before chilling.
- Use dark chocolate chips for a less sweet, richer chocolate flavor.
Keywords: chocolate cherry cream pie, no-bake pie, cherry pie filling, chocolate pudding dessert, whipped cream pie