Pineapple Upside-Down Cheesecake Recipe
Introduction
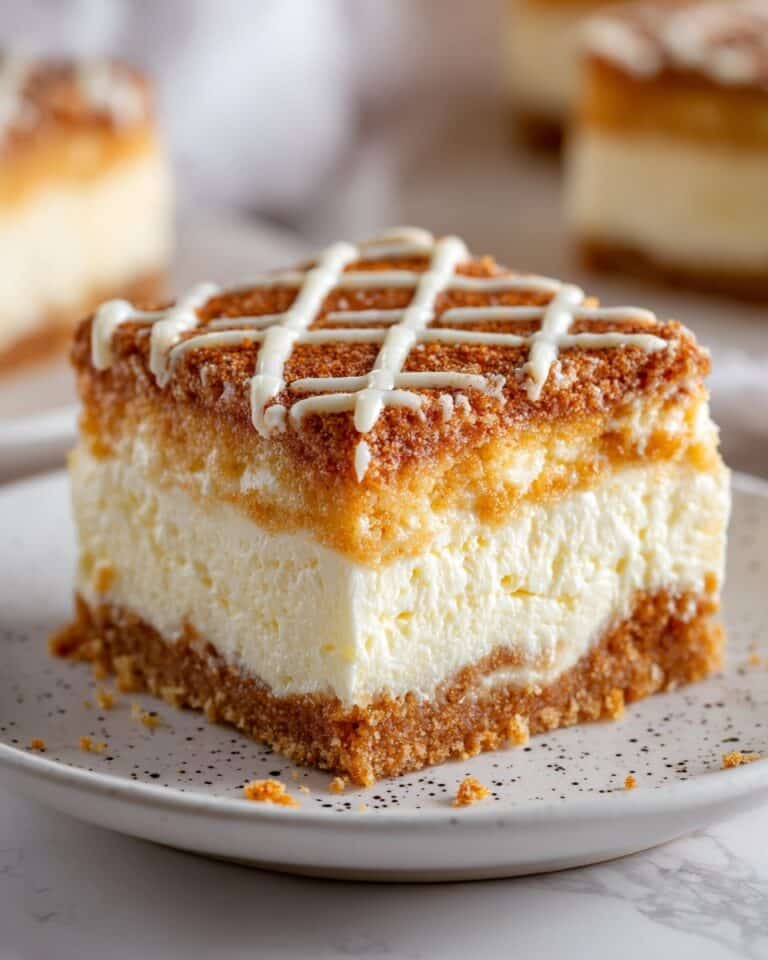
Pineapple Upside-Down Cheesecake is a delightful twist on two classic desserts, combining the tropical sweetness of pineapple with rich, creamy cheesecake. This show-stopping dessert features a caramelized pineapple topping beneath a smooth cheesecake layer, perfect for special occasions or treating yourself.
Ingredients
- 1 1/2 cups graham cracker crumbs
- 1/4 cup unsalted butter, melted
- 1/2 cup brown sugar
- 6 to 8 pineapple rings, canned or fresh
- 6 to 8 maraschino cherries
- 24 ounces cream cheese, softened
- 3/4 cup granulated sugar
- 1/2 cup sour cream
- 1 teaspoon vanilla extract
- 3 large eggs
Instructions
- Step 1: Preheat your oven to 325°F. Grease a springform pan thoroughly and sprinkle the brown sugar evenly over the bottom. Arrange the pineapple rings on top and place a maraschino cherry in the center of each ring. Drizzle the melted butter over the fruit.
- Step 2: In a separate bowl, combine the graham cracker crumbs with the melted butter. Press this mixture firmly over the pineapple layer to form a crust. Freeze the pan for 10 to 15 minutes to set the crust.
- Step 3: Using a large bowl, beat the softened cream cheese and granulated sugar together until smooth and creamy. Add the eggs one at a time, mixing slowly after each addition to keep the mixture smooth.
- Step 4: Stir in the sour cream and vanilla extract until fully combined and the batter is smooth.
- Step 5: Pour the cheesecake filling evenly over the crust and pineapple layer. Use a spatula to smooth the top.
- Step 6: Place the springform pan in a larger baking dish filled with hot water to create a water bath. Bake in the preheated oven for 60 to 70 minutes until the center is mostly set but still slightly jiggly.
- Step 7: Turn off the oven and crack the door open. Let the cheesecake cool gradually in the oven for 1 hour to prevent cracking.
- Step 8: Refrigerate the cheesecake for at least 4 hours or preferably overnight to fully set and chill.
- Step 9: When ready to serve, run a knife around the edge of the pan, release the springform, and carefully invert the cheesecake onto a serving plate so the pineapple topping is on top.
Tips & Variations
- Use fresh pineapple for a brighter flavor, but canned works perfectly if fresh is unavailable.
- For extra caramelization, sprinkle a little extra brown sugar over the pineapple before baking.
- Make sure the cream cheese is fully softened to avoid lumps in your batter.
- If you don’t have a springform pan, you can use a regular cake pan, but unmolding will be more challenging.
Storage
Store leftovers in the refrigerator, covered tightly with plastic wrap or in an airtight container. The cheesecake will keep well for up to 4 days. To serve, let it sit at room temperature for about 15 minutes for the best texture. Reheating isn’t recommended as it can affect the creamy consistency.
How to Serve
Serve this delicious recipe with your favorite sides.
FAQs
Can I use fresh pineapple instead of canned?
Yes, fresh pineapple works wonderfully and adds a natural sweetness and freshness. Just be sure to pat the pineapple rings dry to avoid excess moisture.
Why bake the cheesecake in a water bath?
Baking in a water bath helps regulate the temperature, preventing cracks and ensuring the cheesecake cooks evenly with a smooth texture.
PrintPineapple Upside-Down Cheesecake Recipe

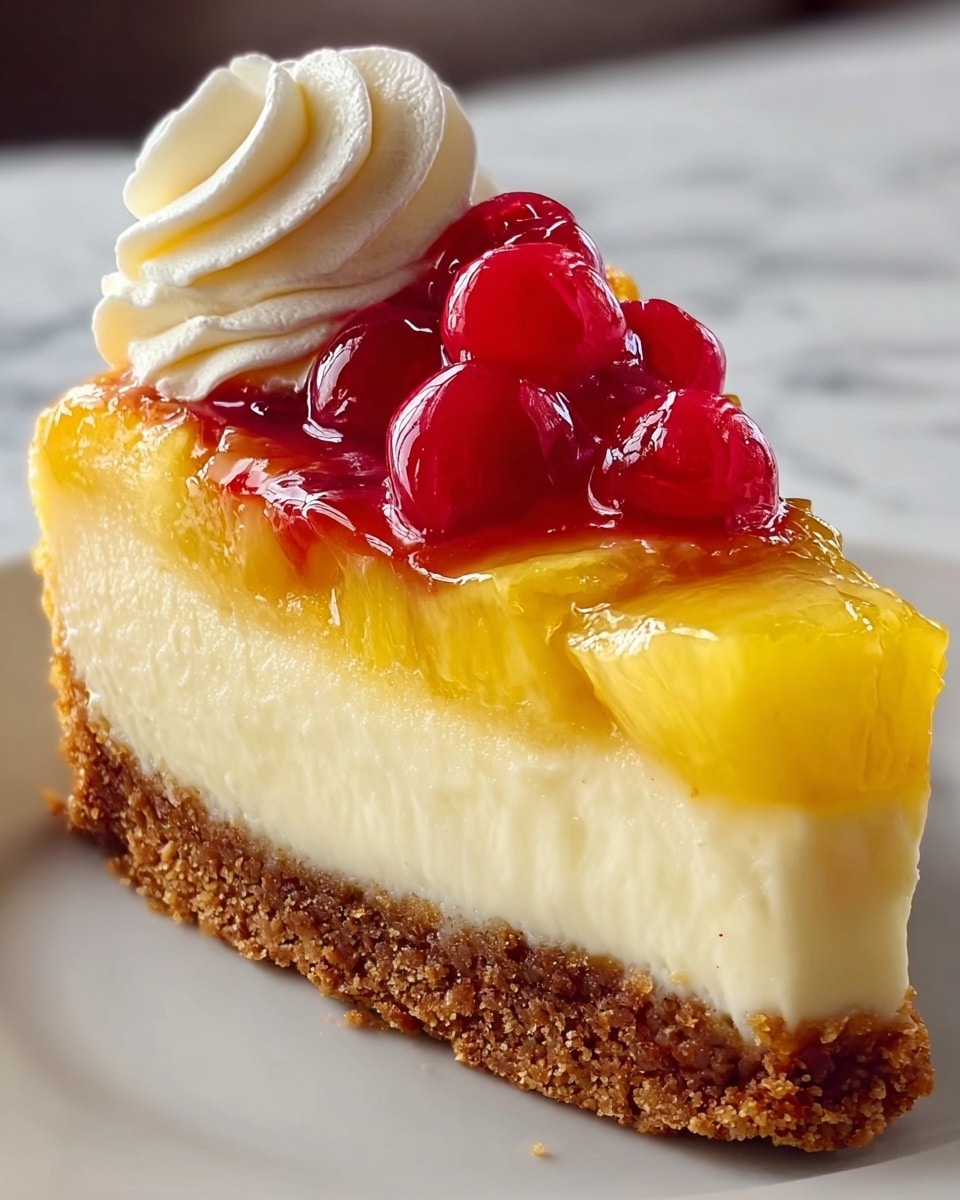
This Pineapple Upside-Down Cheesecake combines the classic charm of a pineapple upside-down cake with the creamy richness of cheesecake. Featuring a graham cracker crust, caramelized pineapple rings with cherries on the bottom, and a smooth cream cheese filling, this dessert is both visually stunning and delectably flavorful, perfect for special occasions or a sweet indulgence.
- Prep Time: 20 minutes
- Cook Time: 1 hour 10 minutes
- Total Time: 5 hours 30 minutes
- Yield: 8 to 10 servings 1x
- Category: Dessert
- Method: Baking
- Cuisine: American
Ingredients
Crust and Topping
- 1 1/2 cups graham cracker crumbs
- 1/4 cup unsalted butter, melted
- 1/2 cup brown sugar
- 6 to 8 pineapple rings, canned or fresh
- 6 to 8 maraschino cherries
- Drizzle of melted butter (about 2 tablespoons)
Cheesecake Filling
- 24 ounces cream cheese, softened
- 3/4 cup granulated sugar
- 1/2 cup sour cream
- 1 teaspoon vanilla extract
- 3 large eggs
Instructions
- Prepare the Pan: Preheat oven to 325°F. Grease a springform pan and evenly sprinkle brown sugar on the bottom. Arrange pineapple rings on the brown sugar layer and place a maraschino cherry in the center of each ring. Drizzle melted butter over the pineapple and cherries to create a caramelizing effect during baking.
- Make the Crust: In a bowl, mix graham cracker crumbs with melted butter until well combined. Press this mixture evenly over the pineapple and brown sugar layer in the pan. Place the pan in the freezer for 10 to 15 minutes to set the crust before adding the filling.
- Prepare the Cream Cheese Mixture: In a large mixing bowl, beat the softened cream cheese and granulated sugar together until smooth and creamy. Add eggs one at a time, mixing slowly to ensure they are fully incorporated while avoiding air pockets.
- Add Sour Cream and Flavoring: Mix in the sour cream and vanilla extract until the mixture is fully combined and smooth, which helps give the cheesecake its rich, velvety texture.
- Assemble the Cheesecake: Pour the cream cheese filling over the chilled crust and pineapple layer, smoothing the top with a spatula to ensure an even surface.
- Bake in Water Bath: Place the springform pan in a water bath to promote gentle, even baking and prevent cracking. Bake for 60 to 70 minutes, or until the center is mostly set but still slightly jiggly to ensure a creamy texture.
- Cool Gradually: Turn off the oven, crack the oven door, and allow the cheesecake to cool gradually for 1 hour. This controlled cooling helps avoid cracks on the surface.
- Refrigerate: Chill the cheesecake in the refrigerator for at least 4 hours or overnight to let it set completely and develop its full flavor and texture.
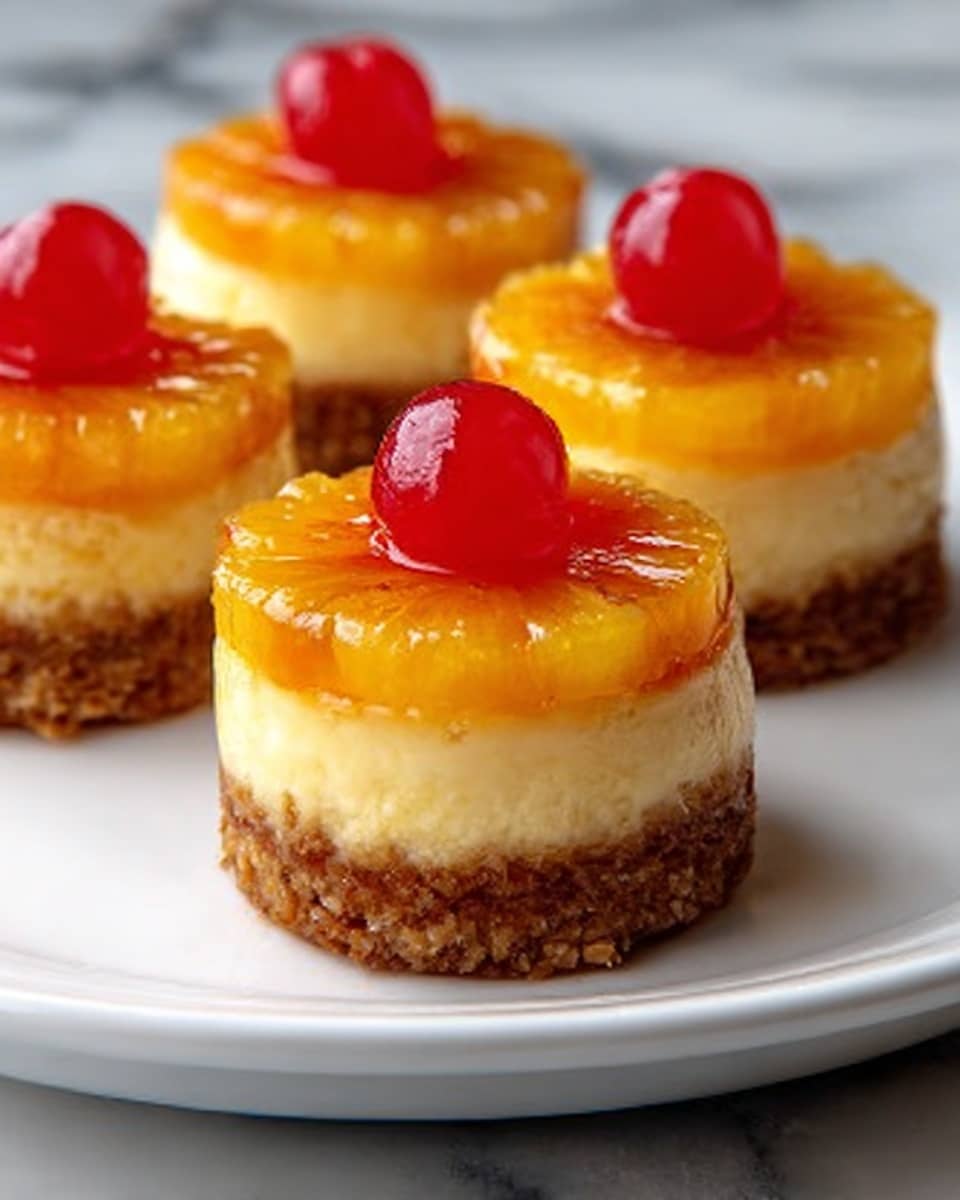
- Unmold and Serve: Once fully chilled, run a knife around the edges of the pan to loosen the cheesecake. Release the springform pan sides, then carefully invert the cheesecake onto a serving plate to reveal the beautiful pineapple and cherry topping.
Notes
- Using a water bath during baking is essential to prevent cracking and ensure a smooth, creamy texture.
- Freezing the crust layer before adding the cheesecake filling helps maintain distinct layers.
- Make sure cream cheese is fully softened to avoid lumps in the batter.
- For freshness and best texture, refrigerate overnight before serving.
- Use fresh pineapple for a more natural flavor if available, but canned pineapple rings work well too.
Keywords: Pineapple Upside-Down Cheesecake, cheesecake recipe, pineapple dessert, baked cheesecake, springform pan dessert, classic cheesecake